So I have a confession to make: the photos in this post were not taken recently…. in fact they were taken way back in………..
SEPTEMBER.
Sorry. I know it’s a little much to take in but that’s the cold hard truth. But I can explain myself.
Back in September my aunt had just had a baby! Which I thought was a pretty exciting occasion so I made her a key lime pie to celebrate. I actually took like a bazillion photos of the process but I never ended up using them in a post which is pretty embarrassing.
But anyways, flash forward to like two weeks ago… I decided to make another key lime pie! But this time I didn’t have any special occasion (I just had a very strong urge to eat key lime pie so you know I had to make it…). Unfortunately, though, I hardly have any pictures from that because I made the fateful mistake of offering some pie to all the guys at my Dad’s annual Manly Man Party where he invites all of his dad friends to bond over sausages and stuff. Anyways they basically inhaled it and I had like 5 minutes to take a decent photo of the pie before all the dads attacked me.
So I was brainstorming for a post when I remembered that I had all those pictures I took in september….. score!!
Basically, I’m recycling pictures here (which probably breaks some sort of foodblogger code but whatever).
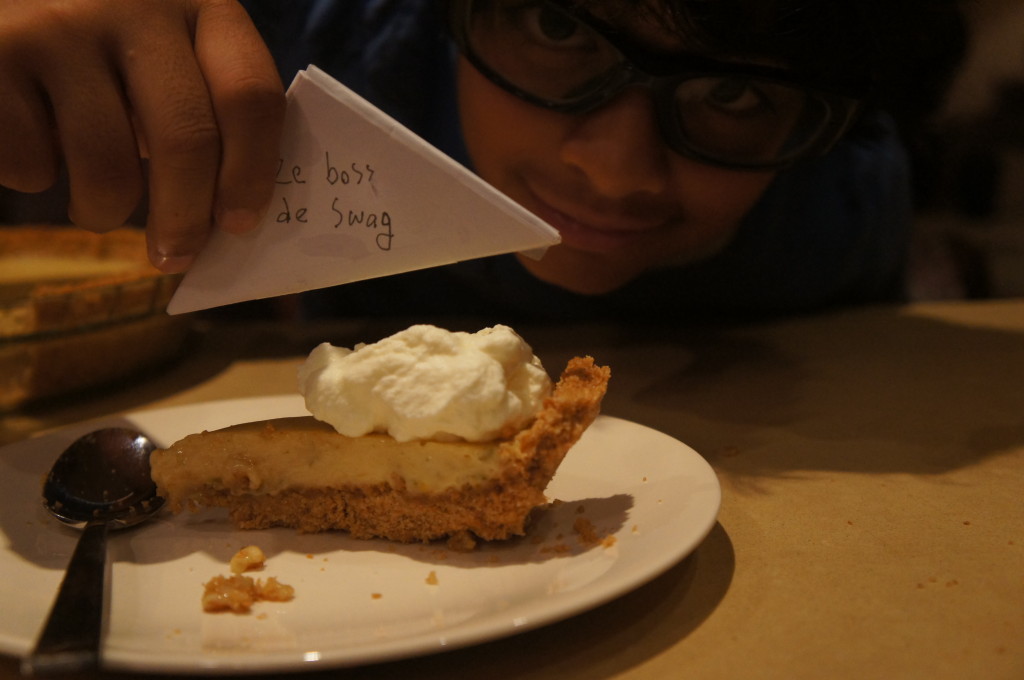
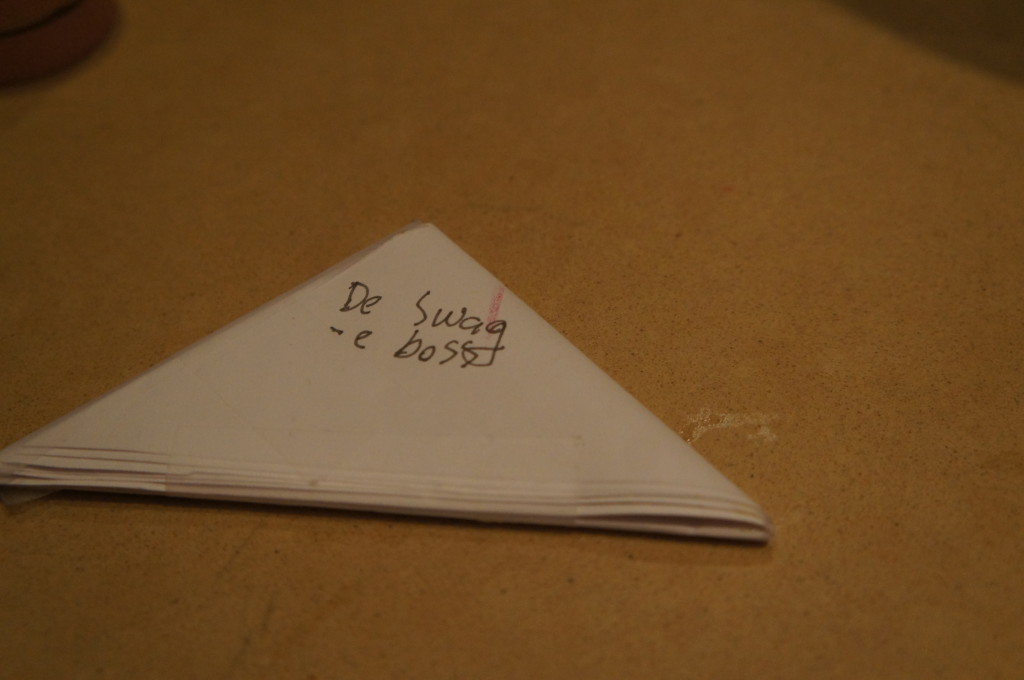
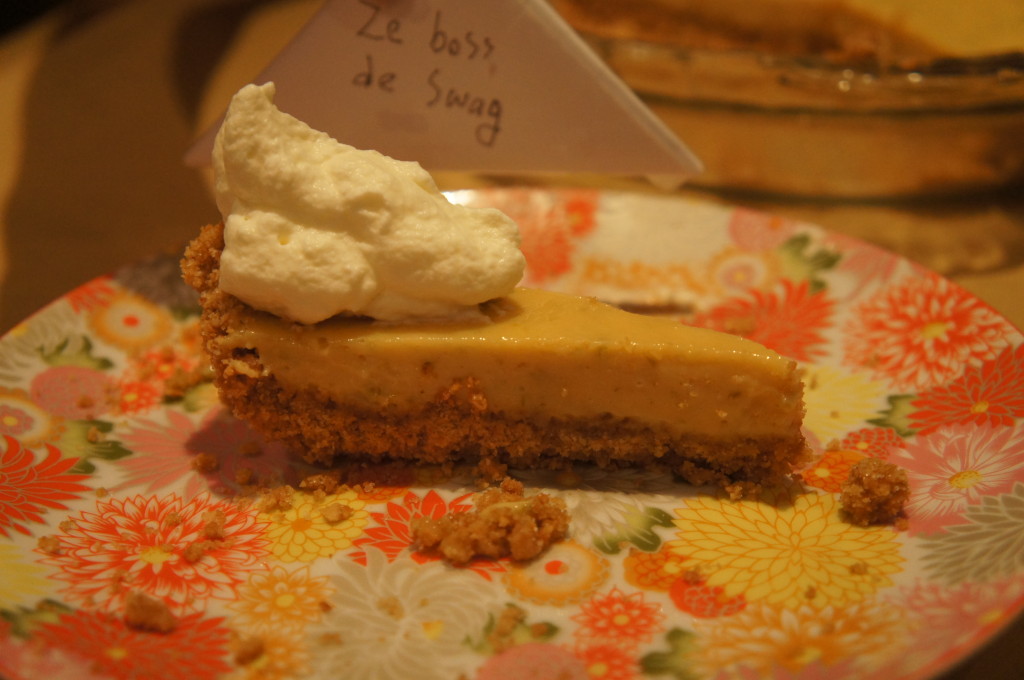
You’re probably wondering what this is. Honestly I don’t really know. Bubby made it at school and I guess I thought it was so hilarious that I forced him to pose with it and the key lime pie… I think it’s supposed to be a game? Like you flip the triangle and see if you’re ze boss or de swag. Or something. Anyways it must be an 11-yr old boy thing.
ON to the pie!
Step 1: crush da grahams!!
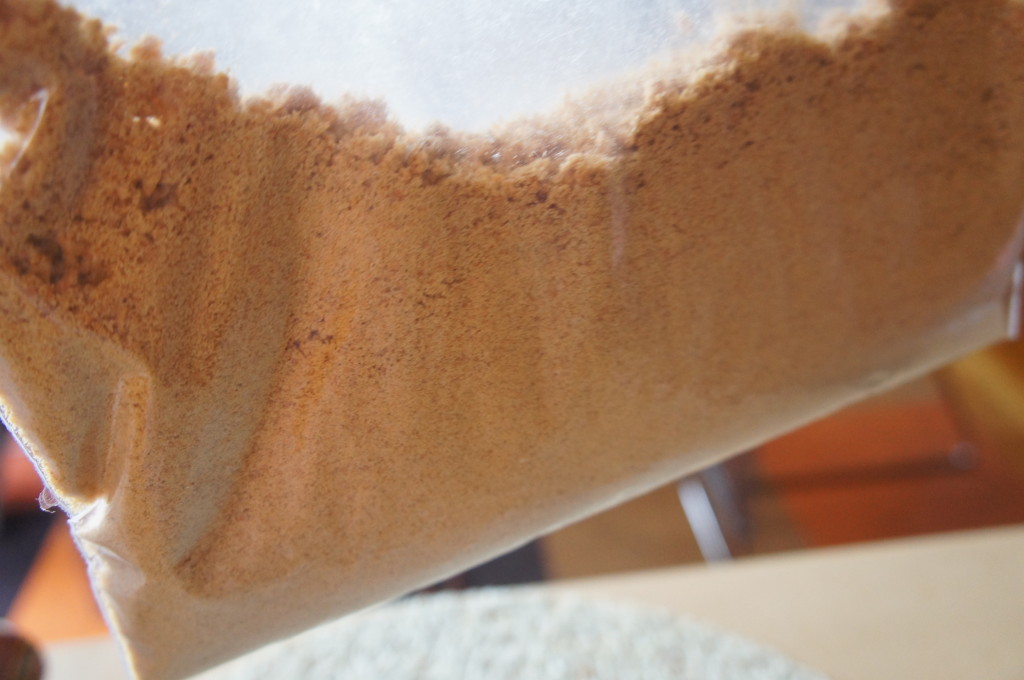
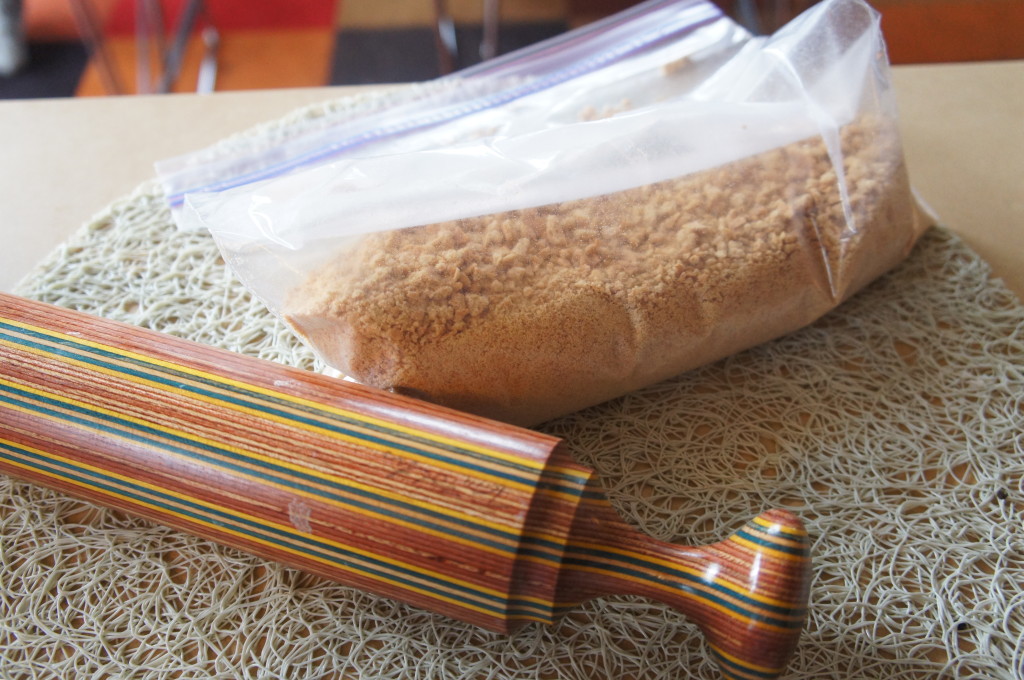
If you’re a normal, logical person, you would probably just pulse them up in a food processor. Or if you’re hardcore like me you could violently crush them in a ziploc with a rolling pin.
In all honesty it didn’t work that well (there were tons of lumps left haha) but it’s a good stress reliever !!!
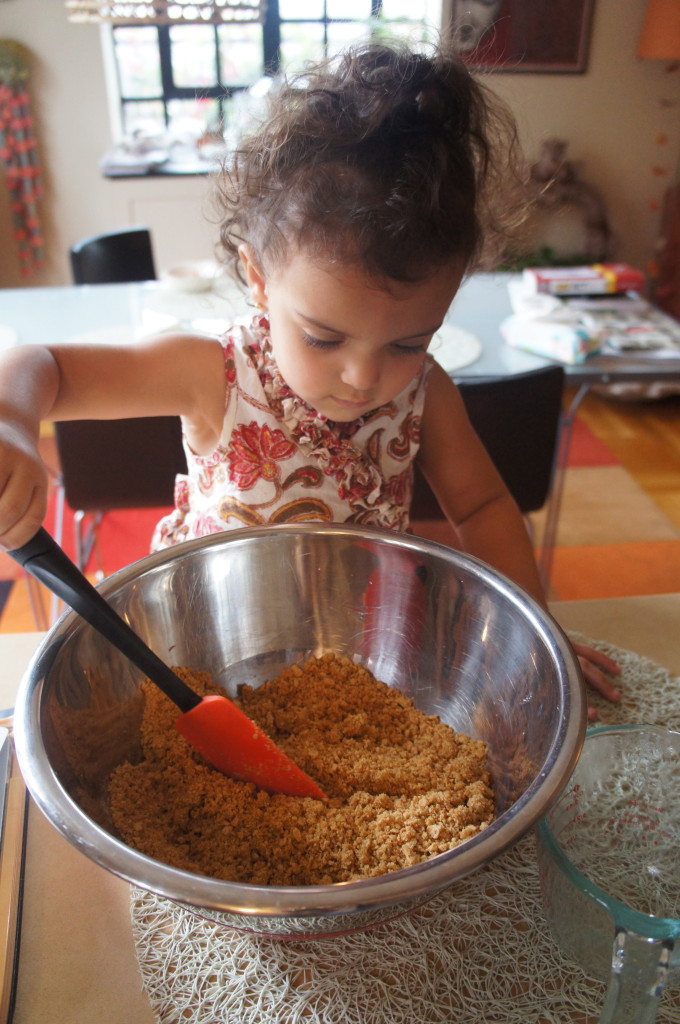
Step 2: find your local 3 year old and force them to work for you
(just kidding)
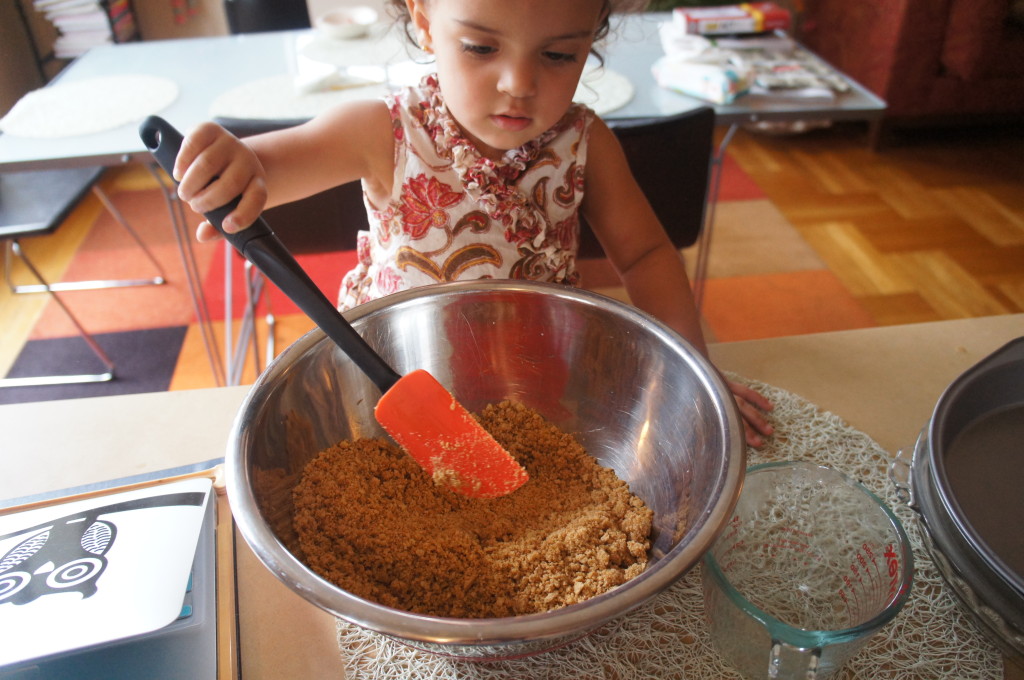
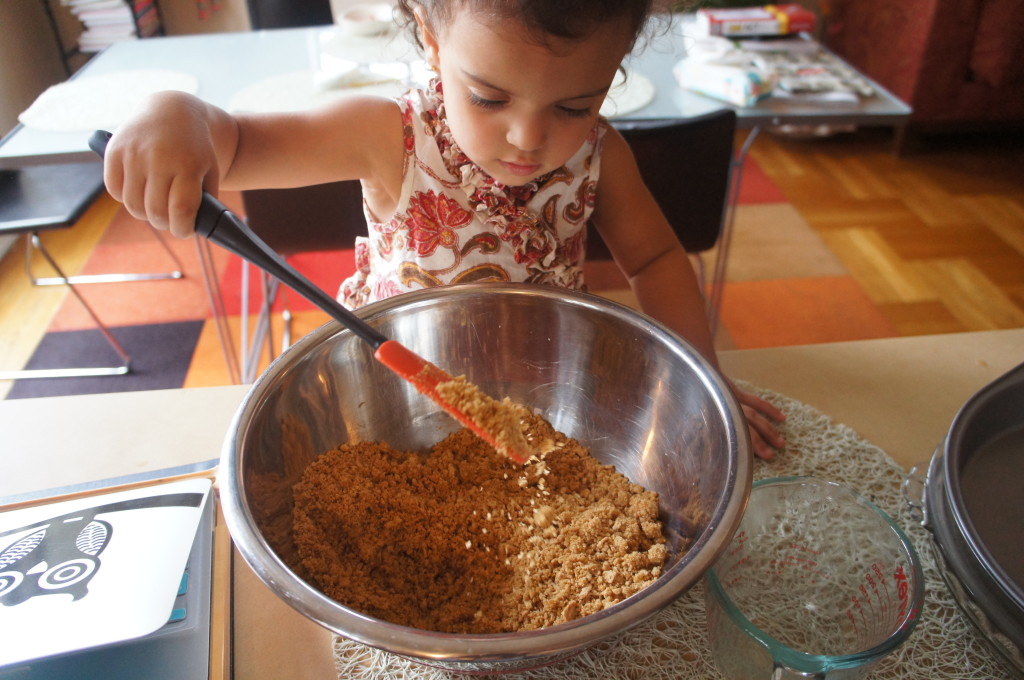
(actually, she wanted to help. she told me that she’s “a caker and a baker” so I couldn’t really argue with that)
hard at work!!!
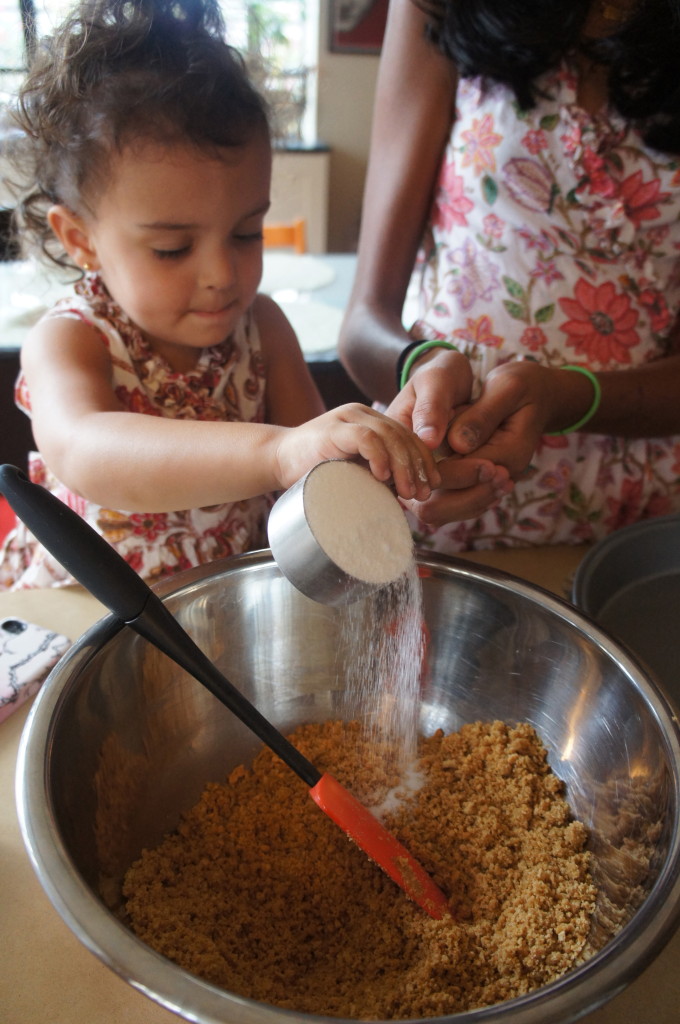
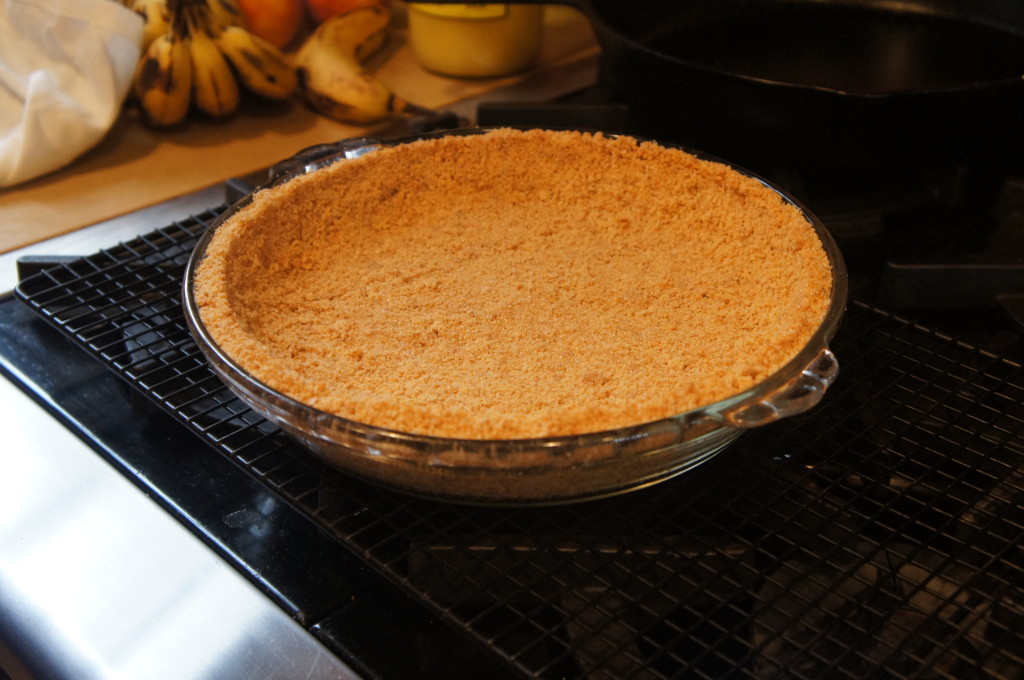
also, at this point you wanna mix in the melted butter and sugar. once you’ve done that, pour it into your pie dish…..
and bake it! ;~)
while the pie crust’s baking you can look at your brother while he stares pensively at his arm.
who know’s what he’s thinking about…. probably whether he’s de boss or ze swag…
Okay, I have another confession. This might be a little shocking but……
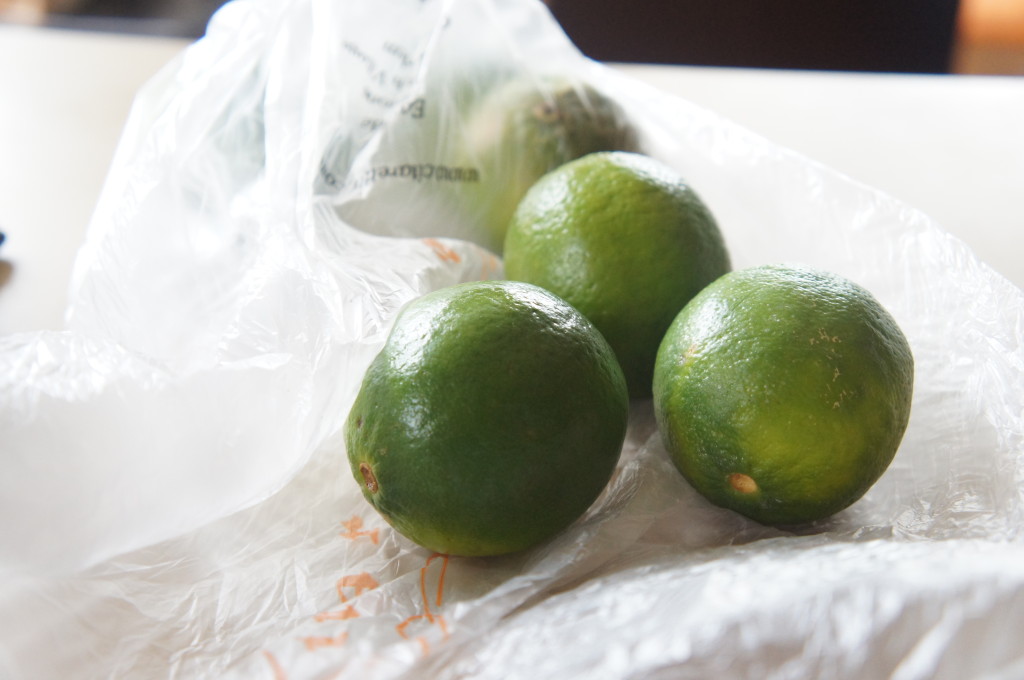
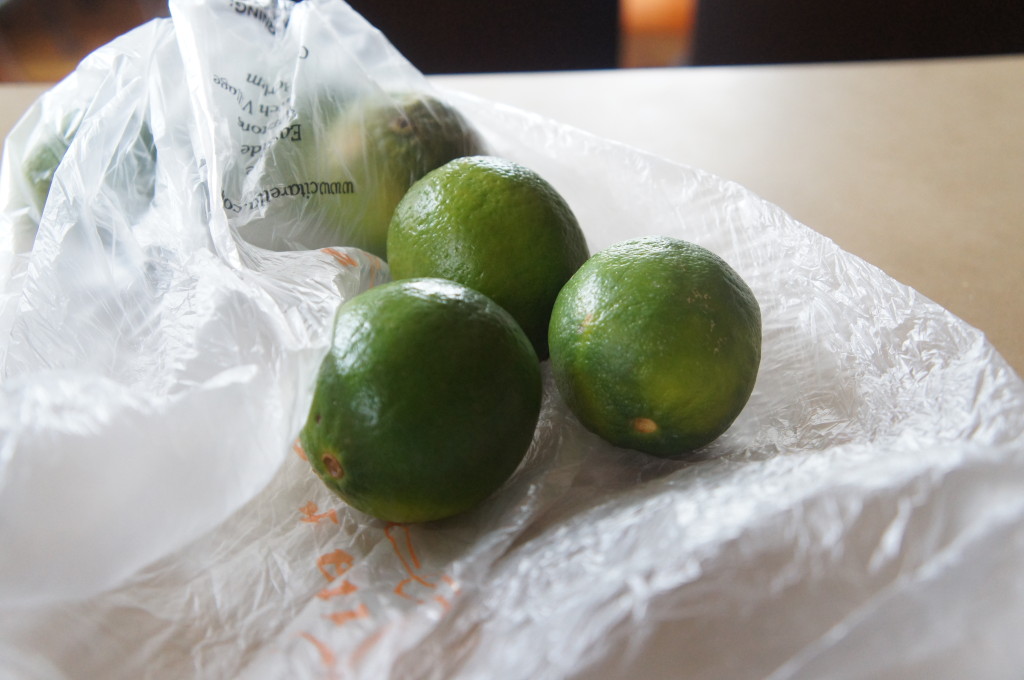
I didn’t use real key limes!
The main reason is that it honestly tastes the same either way (unless you’re a diehard key lime pie fanatic or something in which case… pls leave). Also because once I actually did make key lime pie with real key limes and it takes FOREVER because key limes are like the size of a grape and you need a ridiculous amount of them just to get a cup of juice. It’s just not worth the pain and suffering !!
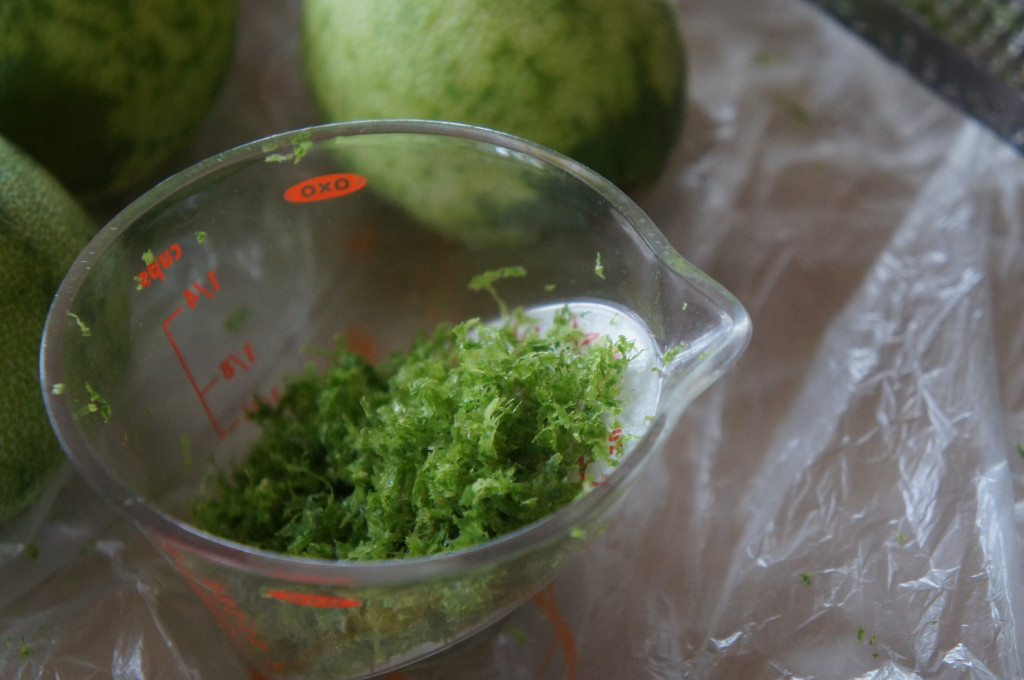
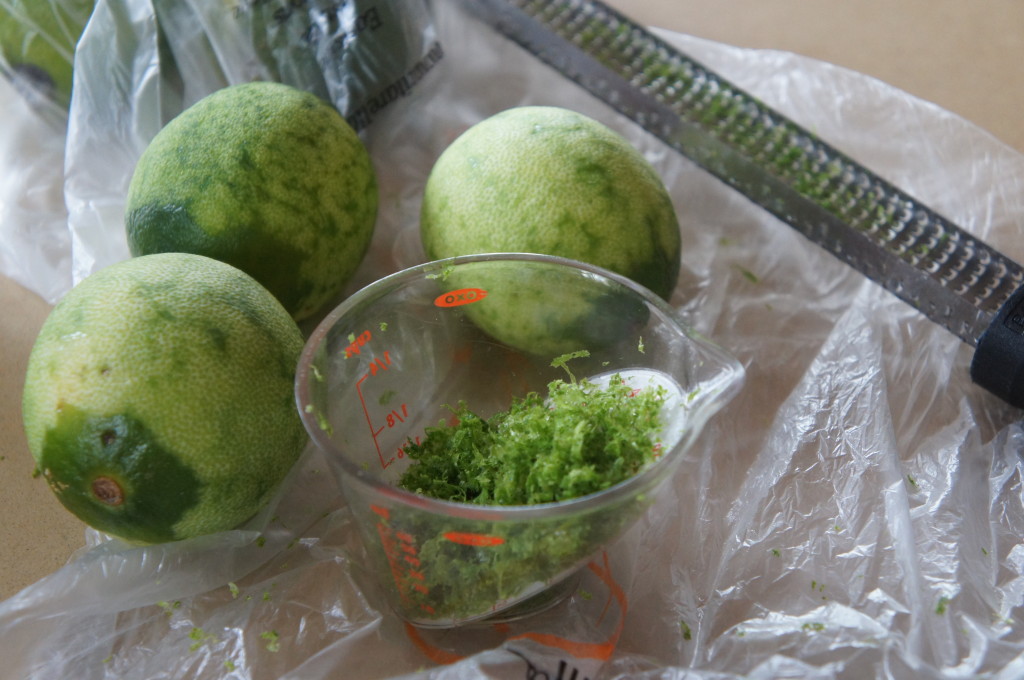
Anyways, zest a few limes..
until they look weird and naked like this.
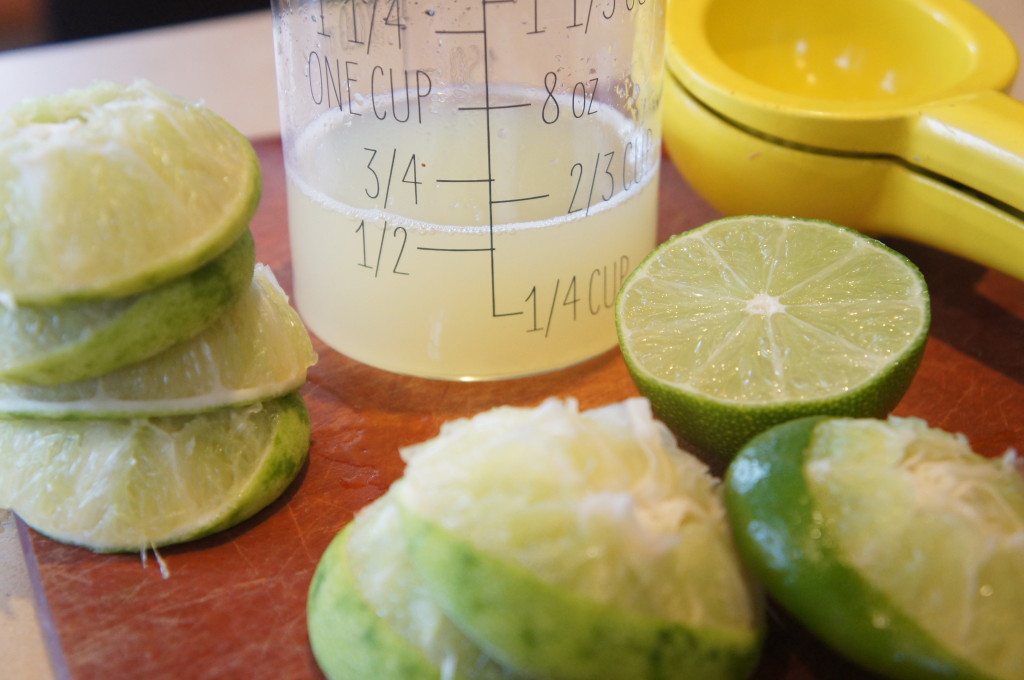
In all, you want 1/2 a cup of juice.
I guess I was SO into it that I went a little overboard here.
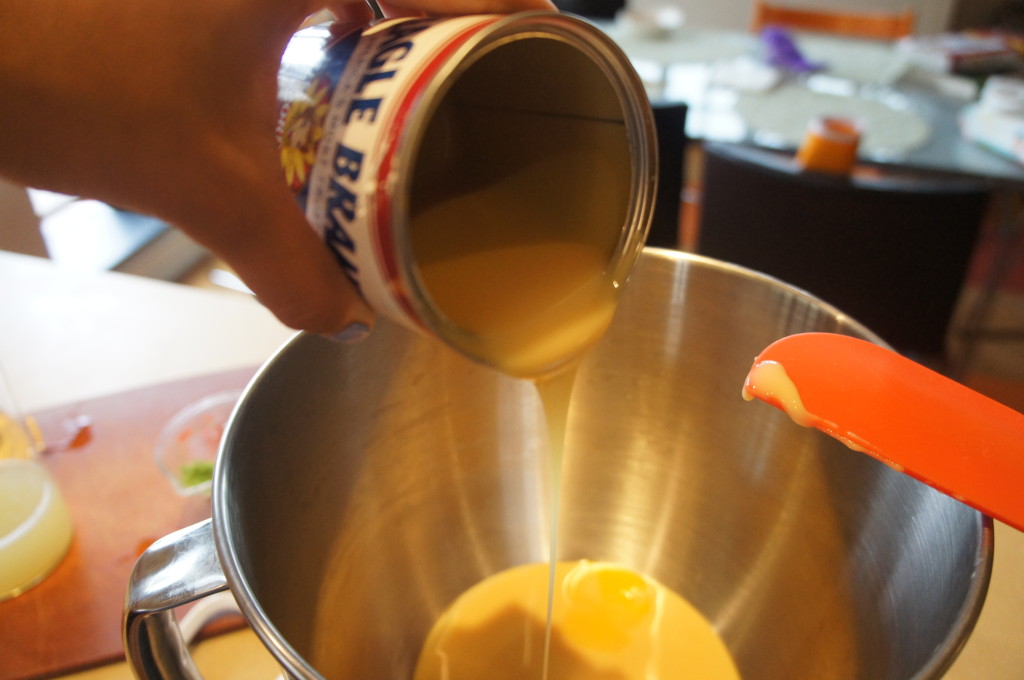
the star of the show: CONDENSED MILK !
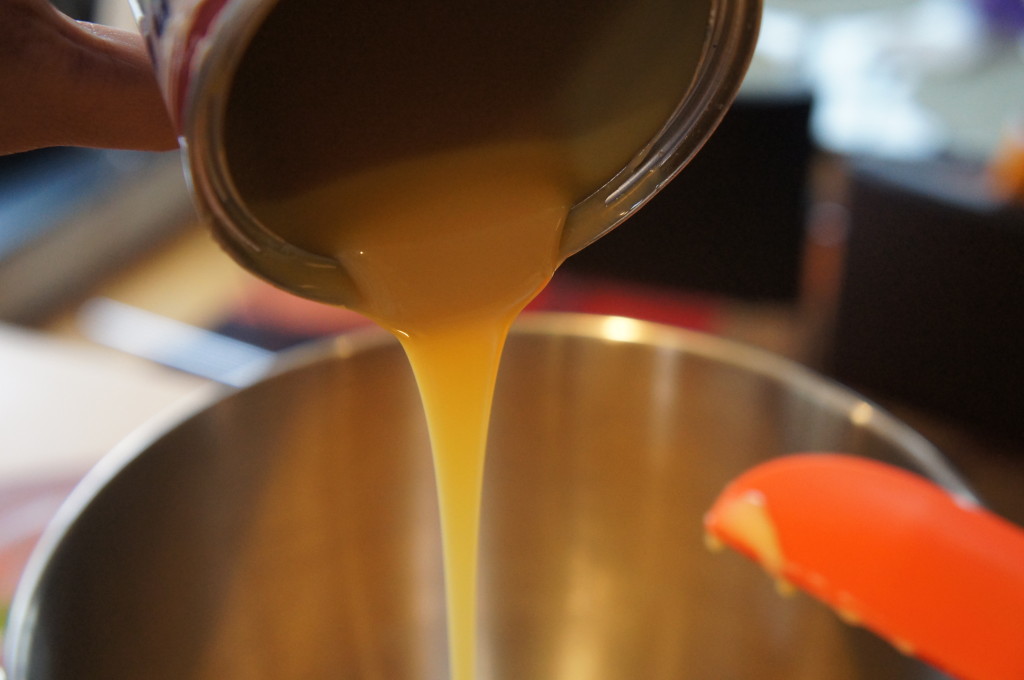
what a beautiful sight.
make sure you get every single bit. this is so important.
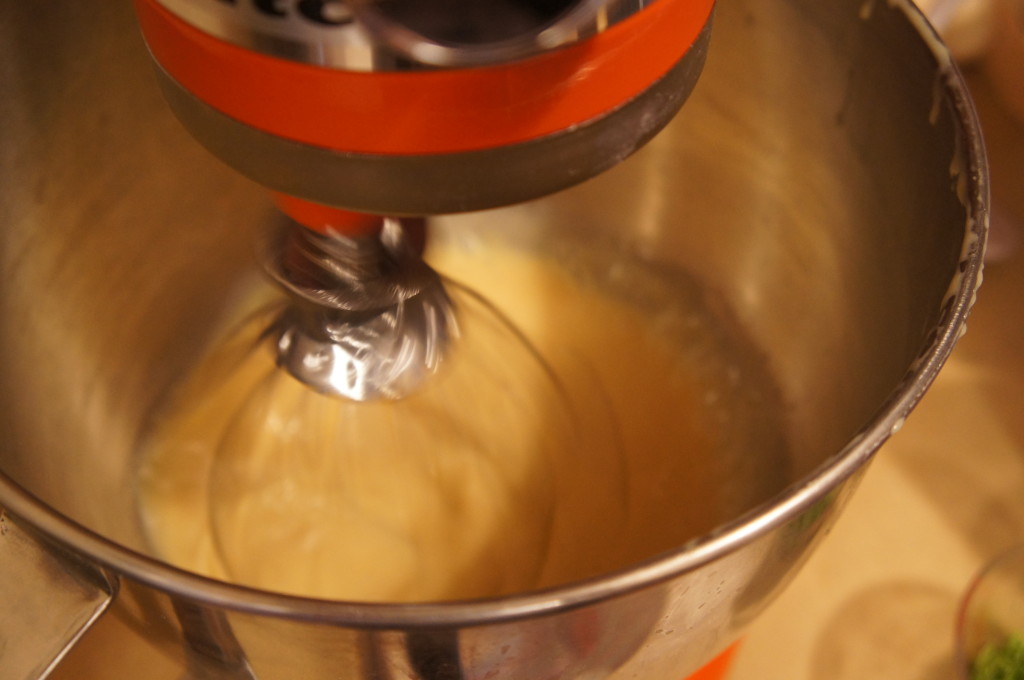
violently mix everything on high speed !!! (also I think there were some egg yolks involved in there somewhere but I must’ve forgotten to take pictures….. typical…)
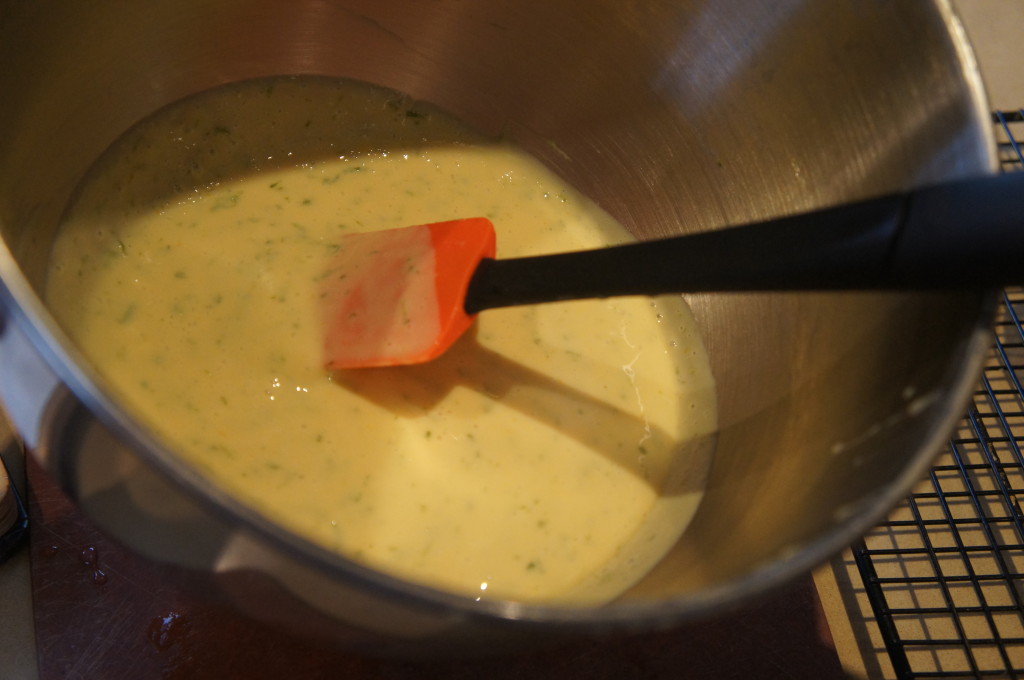
also add the lime zest!
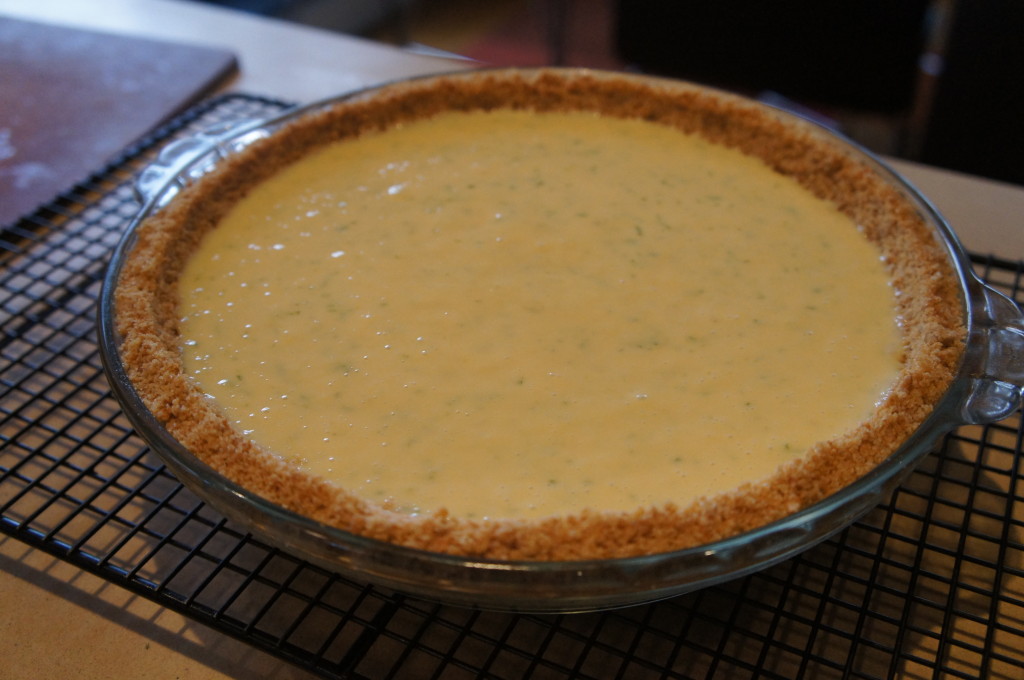
pour into ze pie crust! and bake it!
ahhhhhhhh yes.
don’t eat it yet though. you have to chill it for a few hours! sorry.
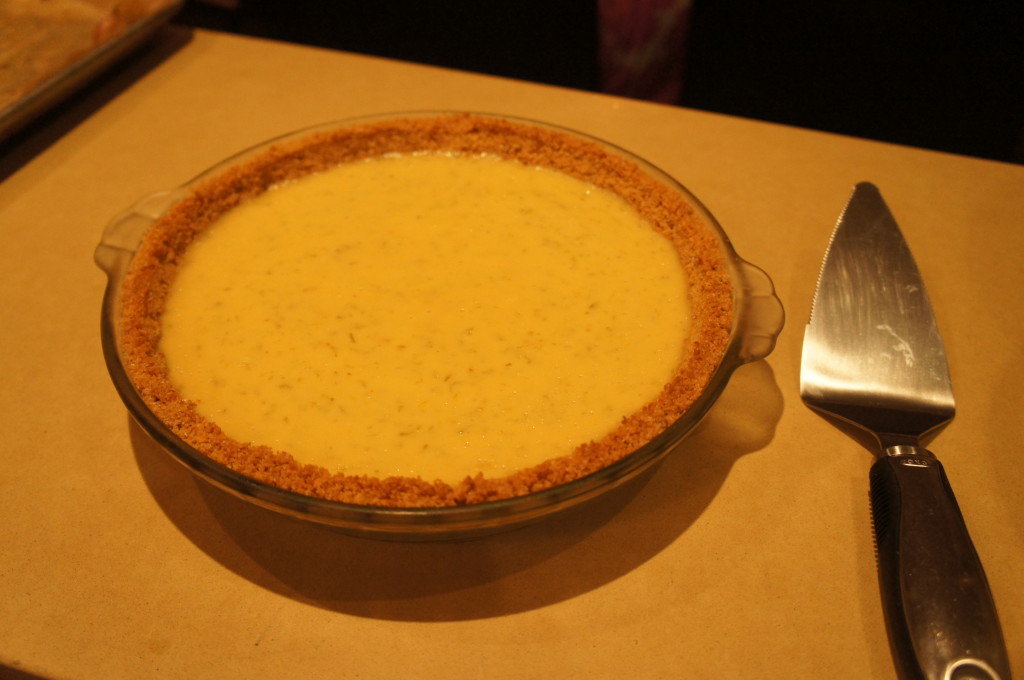
ew. I apologize so much for this putrid lighting. as you can tell, it is nighttime.
but anyways this is after a few hours of chilling in the fridge! time for the moment we’ve all been waiting for!!
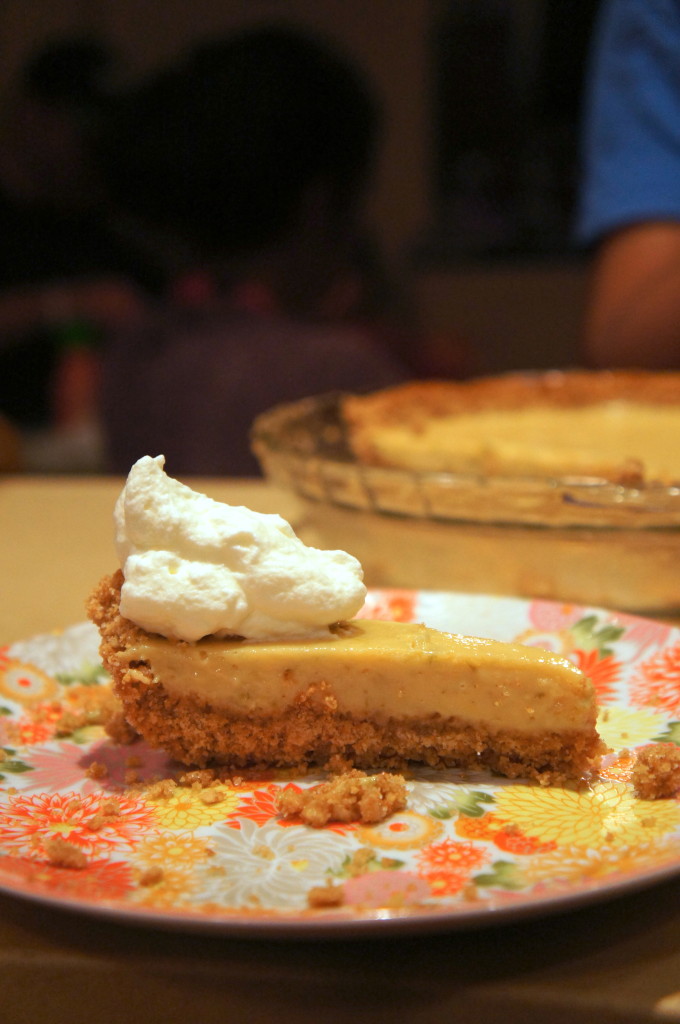
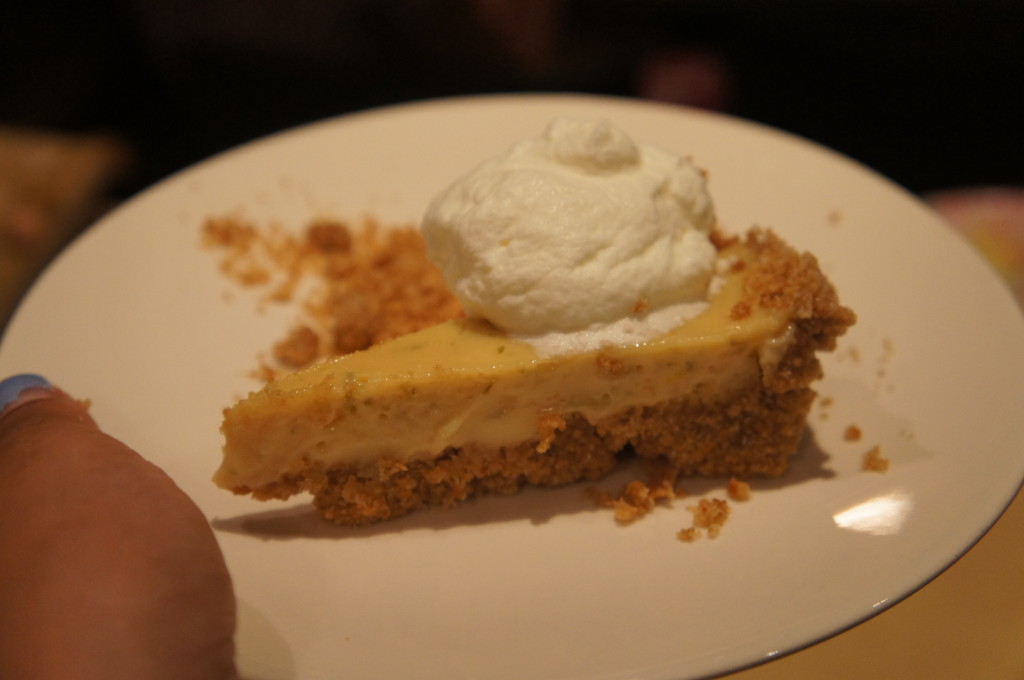
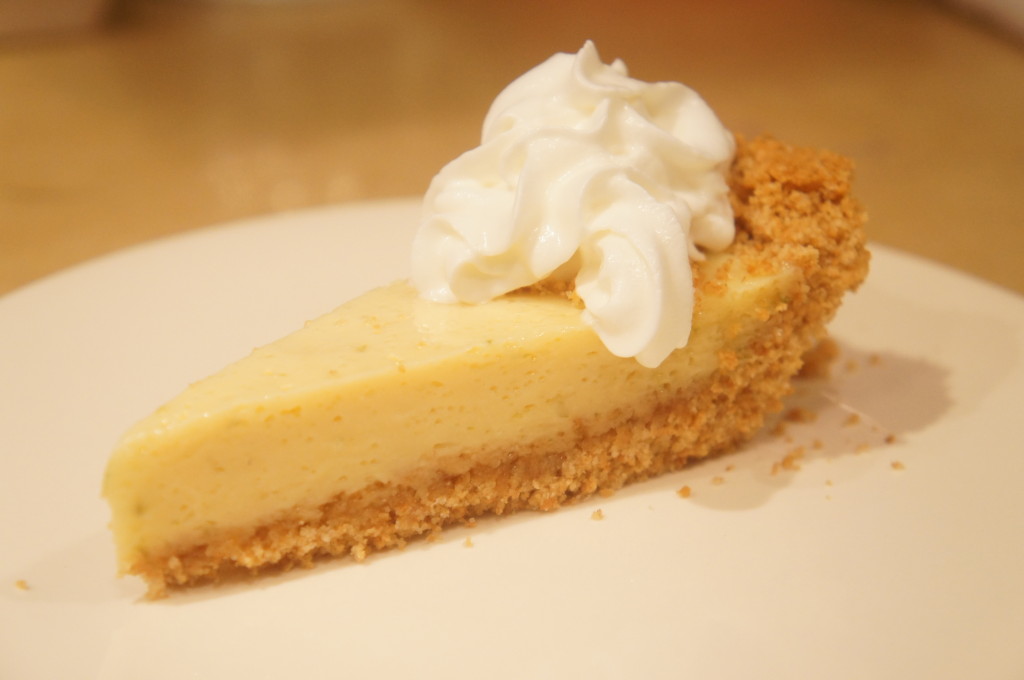
wow. this is honestly such a beautiful sight. I might even shed a tear.
plus look at that homemade whipped cream. I hope you’re all impressed.
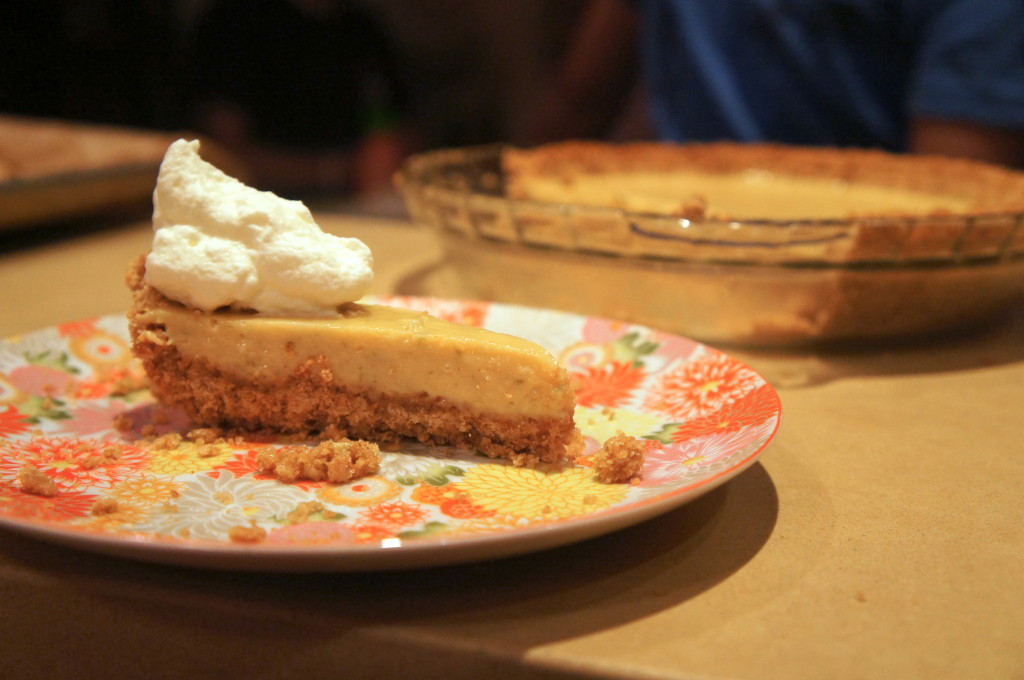
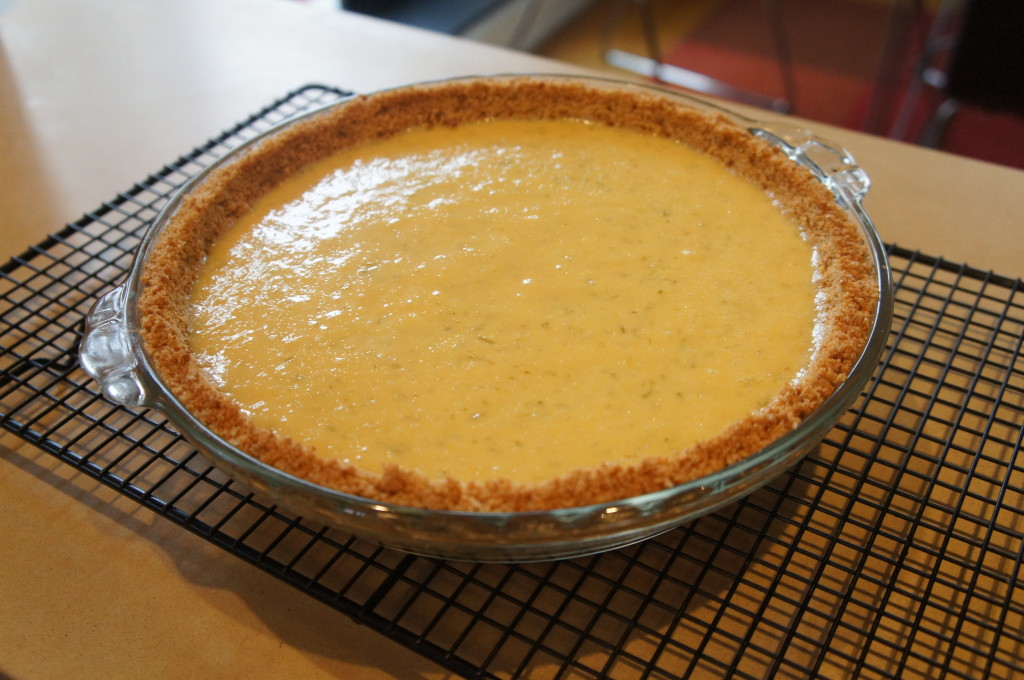
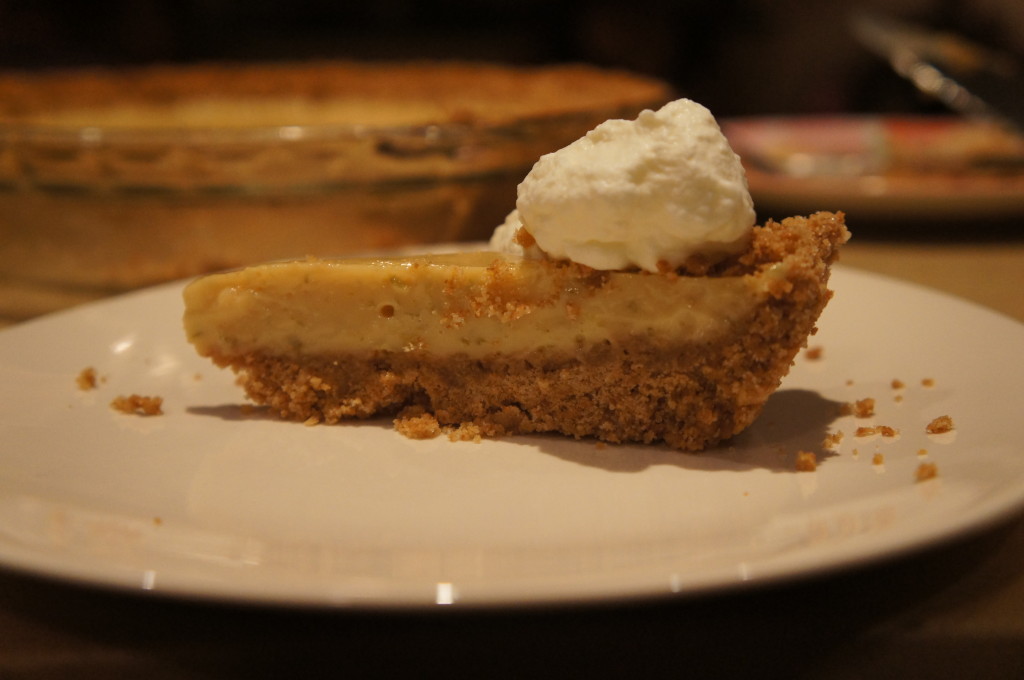
side view 😉
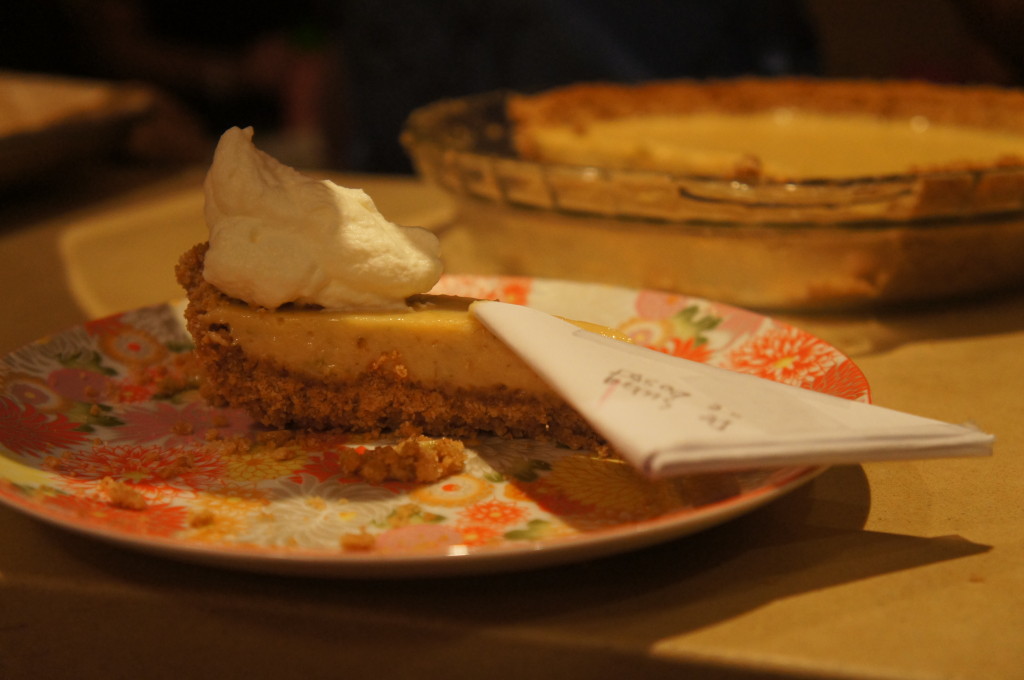
oh no not ze boss de swag again…..
well great. I guess I should’ve figured that would happen
anyways… enjoy, guys!! here are a few lessons I’ve learned from this pie experience.
- just use a food processor for the crust. I know it’s tempting to pull out the rolling pin but let’s be real it doesn’t work that well.
- (use regular limes! shhh)
- homemade whipped cream is best! but nobody will really care if you use reddi whip….
- keep all 11 year old boys far away from the kitchen!!!
alright so here’s the recipe. make this pie soon!
Key Lime Pie:
(adapted from The Pioneer Woman)
Ingredients:
- 18 whole Graham Crackers (the 4-section Large Pieces)
- 1/3 cup Sugar
- 1/3 cup Butter, Melted
- 1 Tablespoon (heaping) Lime Zest
- 1/2 cup Lime Juice
- 2 whole Egg Yolks
- 1 can (14 Oz) Sweetened Condensed Milk
Instructions:
- Preheat oven to 350 degrees
- For the crust:
Crush crackers in a food processor or Ziploc bag. Pour them into a bowl and stir in sugar and melted butter. Press into a pie pan and bake for 5 minutes or until golden and set. Remove from oven and set aside to cool slightly. - For the filling:
Mix lime zest, lime juice, and egg yolks in a mixing bowl. Add in condensed milk and mix on high until smooth and thick. Pour mixture into crust and bake for 15 minutes. - Remove from oven, allow to cool, then refrigerate for at least 1 hour—more if possible.
- Serve with sweetened whipped cream and more grated lime zest.


3 Comments
Leave a reply →