*cue gameshow opening music*
heeeeeLLLOOOOO and welcome BACK to another episode of  “nyckid and njkid make overly elaborate cupcakes!!”
Let’s reminisce on the salad days of our blog now, shall we? If you’re a true biscuitwaller (??) then you would most definitely recall that time that I stayed with my best frand (we shall call her njkid) at her house in new jersey, and went to sailing camp for two weeks. When was that even? Like 8 years ago? (feels like it lol). Well anyways it was pretty great! We were totally proficient sailors from the beginning (except for that time we capsized), but when we weren’t sailing, we were going nuts over the book hello cupcake and basically trying to make as many ridiculously decorated cupcakes as we could in the span of two weeks. To be honest, we’re not much different now than we were then!
Except for the fact that we’re 47x cooler now (obviously).
well ANYWAYS, during that two week period of time, njkid’s mom had slyly mentioned that she would love for us to make her the garden cupcakes for her birthday (sept. 4) one year– yet sadly, this had never happened until recently, when we had the epiphany that we could totally make them this year!
- i was in new jersey
- we were staying until sept. 4
- THE STARS HAD ALLIGNED
So we set off on our cupcake making odyssey!
(in SECRECY of course)
 the first step was to make the signs!
what we used:
- graham crackers
- canned vanilla frosting
- various colors of food dye
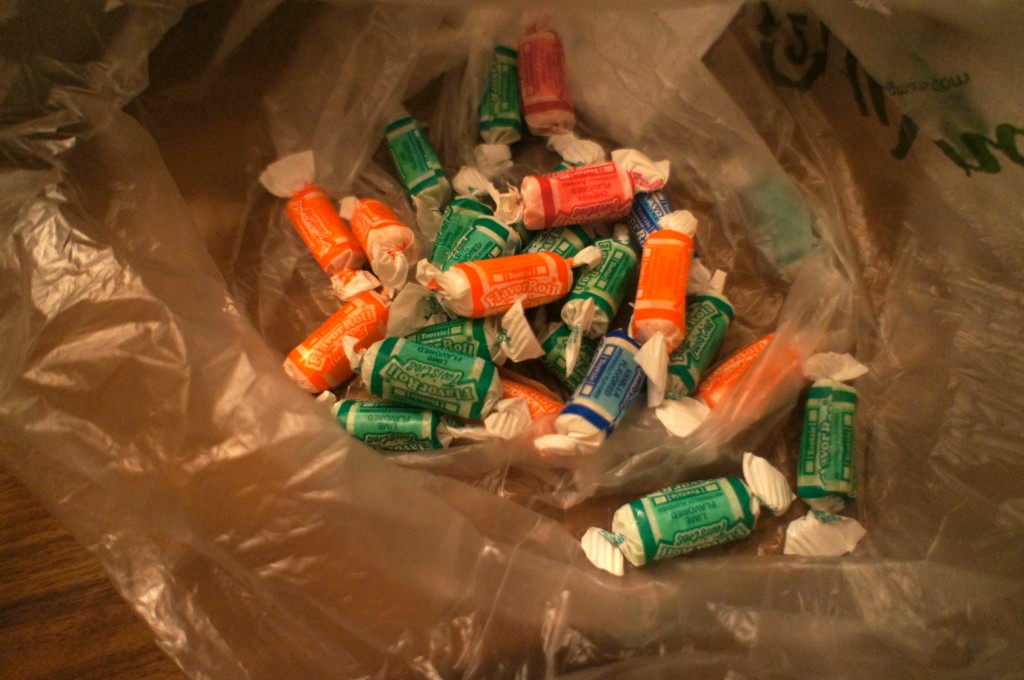
- moldable fruit chews
- tiny pretzel rods
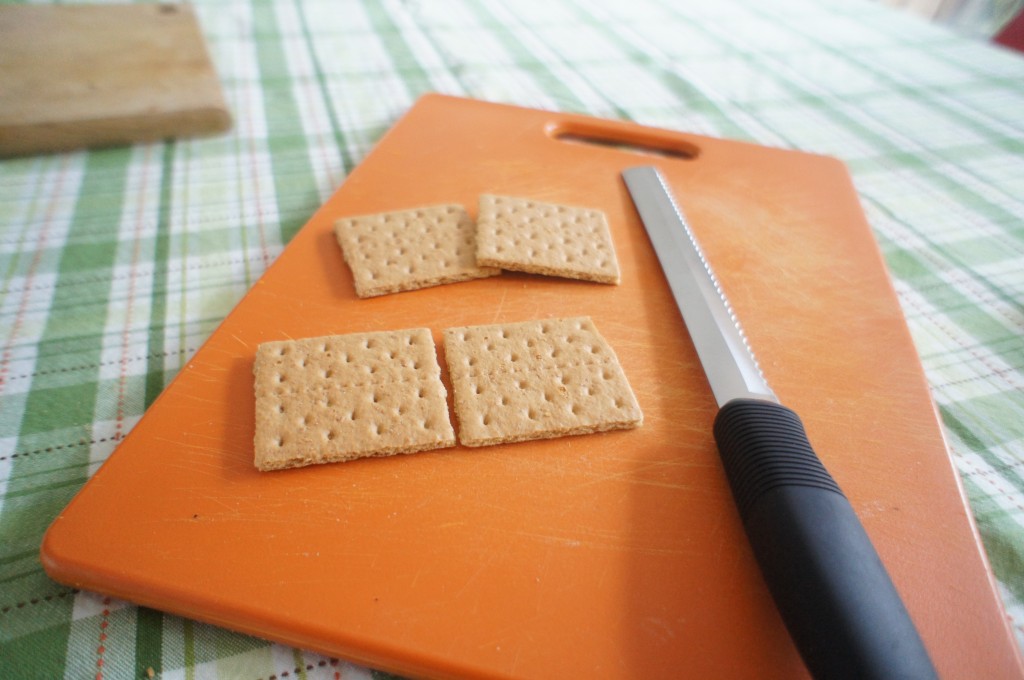
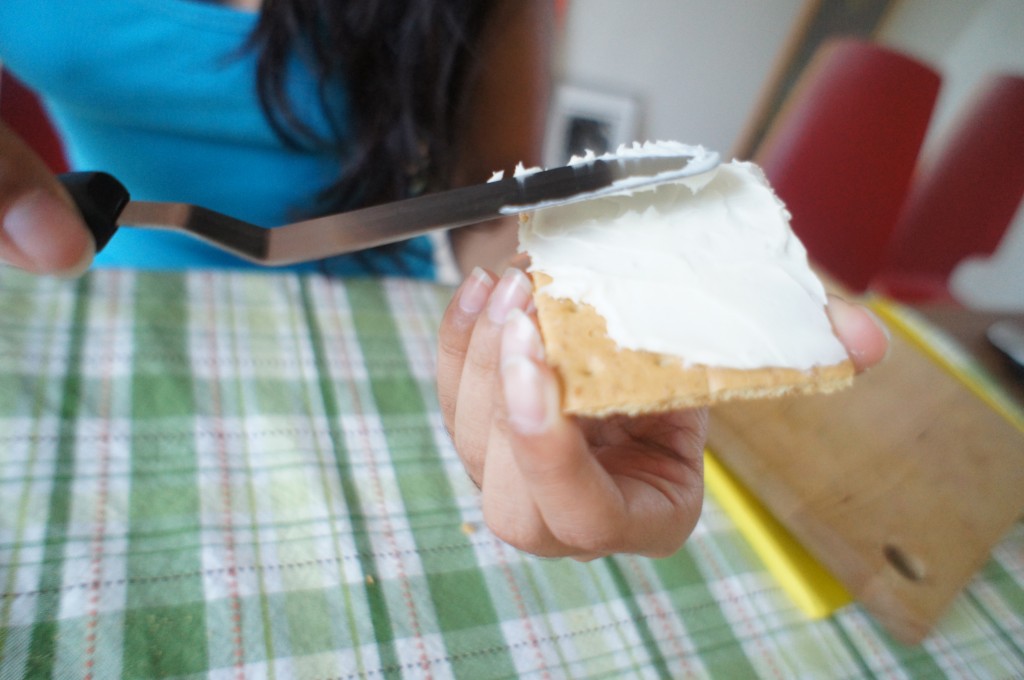
so first you wanna cut your grahams into squares like so!! you only need 4 so its ok if you mess up, just try again ha
slather them in a THIN layer of white frosting…
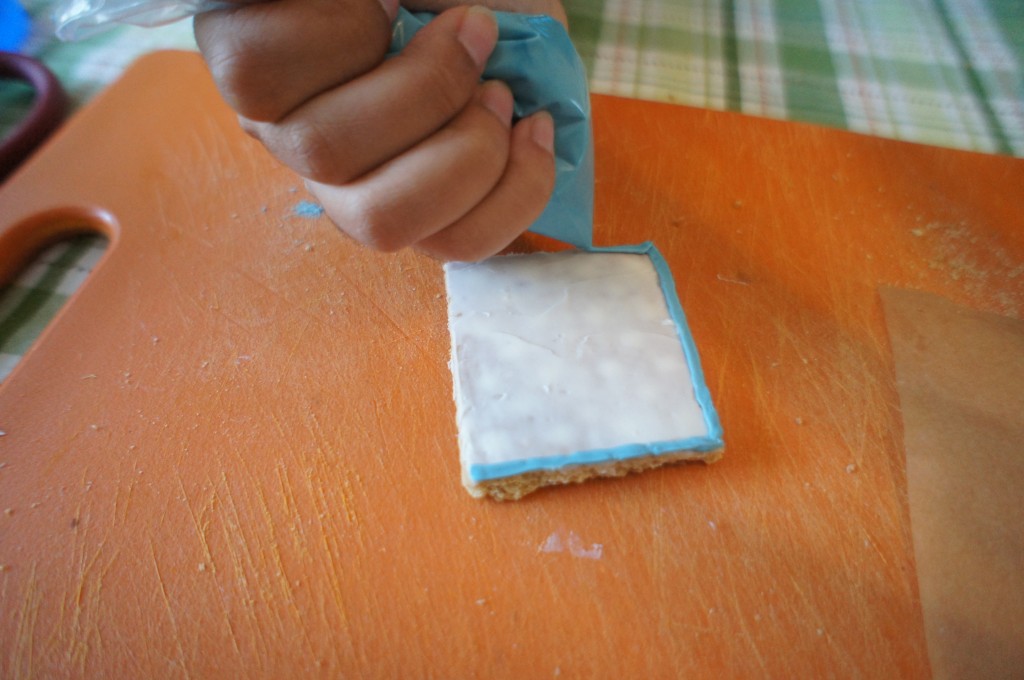
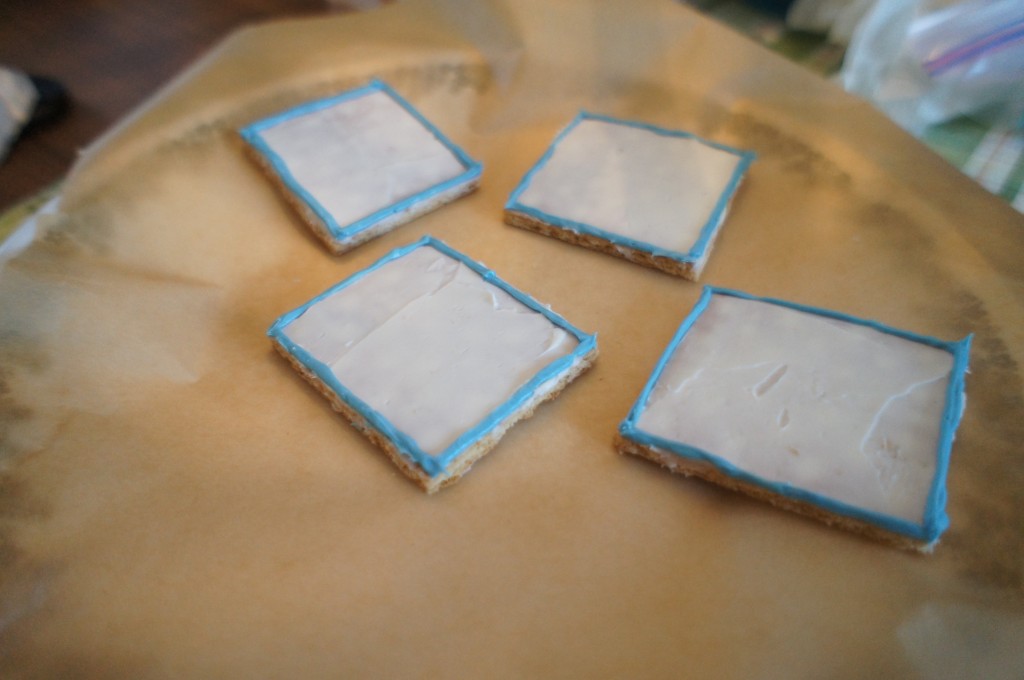
then tint some of the white frosting BLUE, and pipe around the borders…
like so!!
- contemplate how best to go about making brown frosting since you are living in isolation in new jersey and only have four colors of food coloring
- come to the conclusion that it must just be all of the colors mixed together and dump in all four bottles
- end up with this poop colored frosting
- accept the frosting for what it is
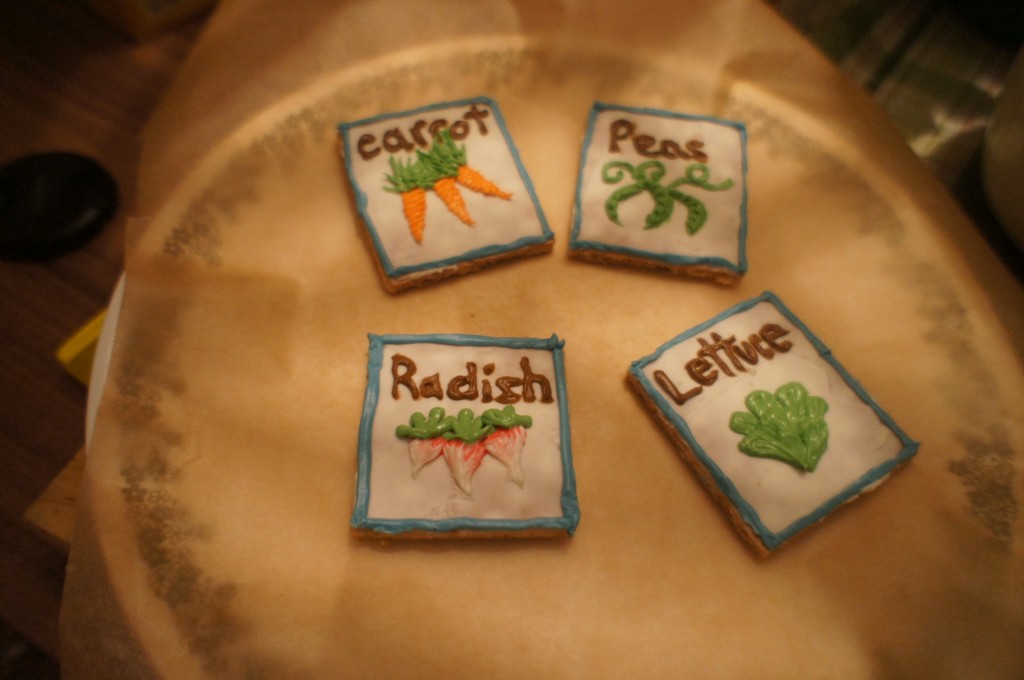
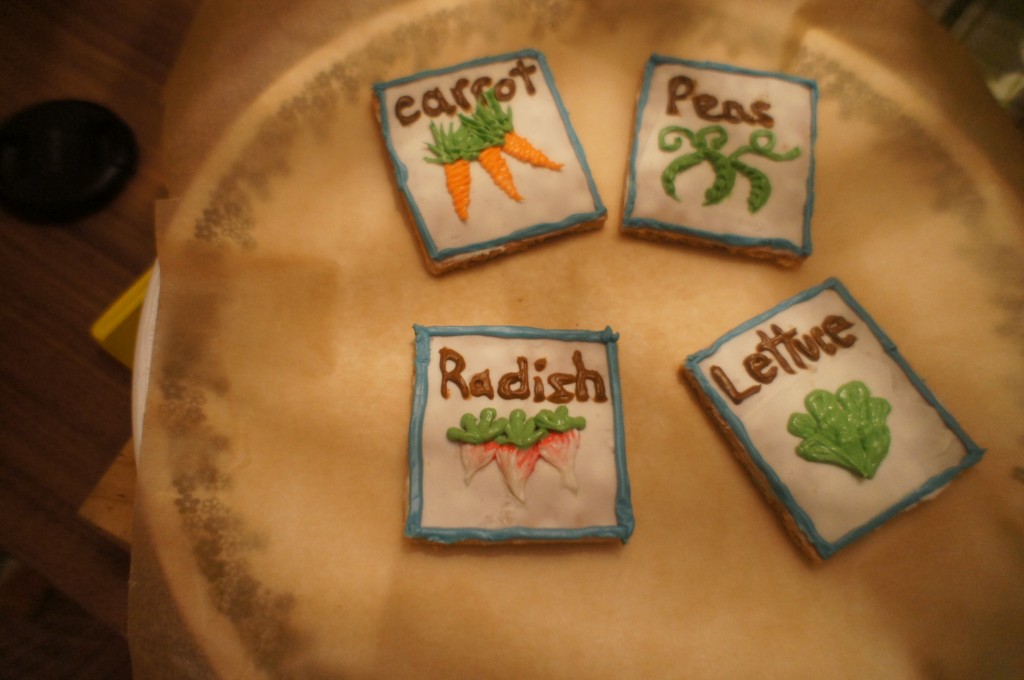
then pipe the names of the four vegetables!
i know our professional baking skills make this look totally easy…
but in reality, piping the names of vegetables onto graham crackers was probably the most stressful thing I have done all week.
(you have been warned)
the contestants are doing well so far!!
ONTO THE NEXT ROUNDDDD
(cue awkward picture)
PIPING THE DESIGNS
*audience gasps*
Begin by tinting your white frosting to the colors you think you’ll be using! We ended up using green, orange, and a pinkish-red.
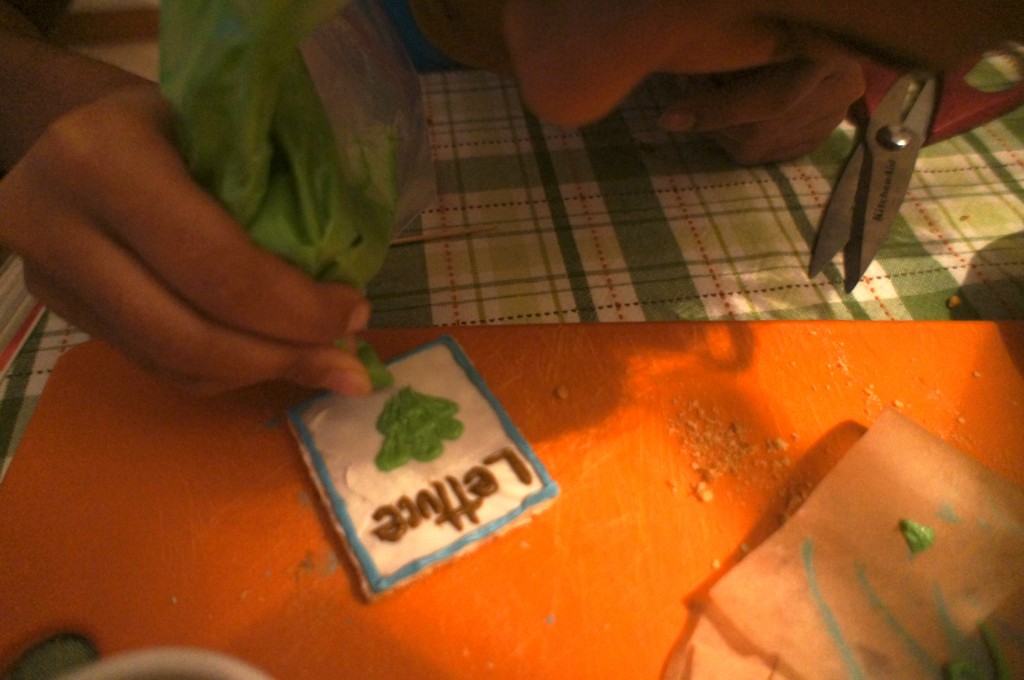
Scoop frosting into ziploc bags, snip the tips, and start piping!
(don’t forget to try to take an artistic photo from a creative angle and fail)
then take another artistic picture, but realize that you have exactly zero natural light and give up.
note: to attach the pretzel rods to the backs of the graham crackers, you’re gonna wanna freeze the grahams for a little bit so that the frosting can set up! once hardened, quickly attach a pretzel rod to the back of each graham cracker with a little bit of fruit chew.
the contestants have successfully completed round two!!
BUT CAN THEY SURVIVE
ROUND THREE
??!?!?!?!
making miniscule vegetables out of fruit chews??
*intense music plays*
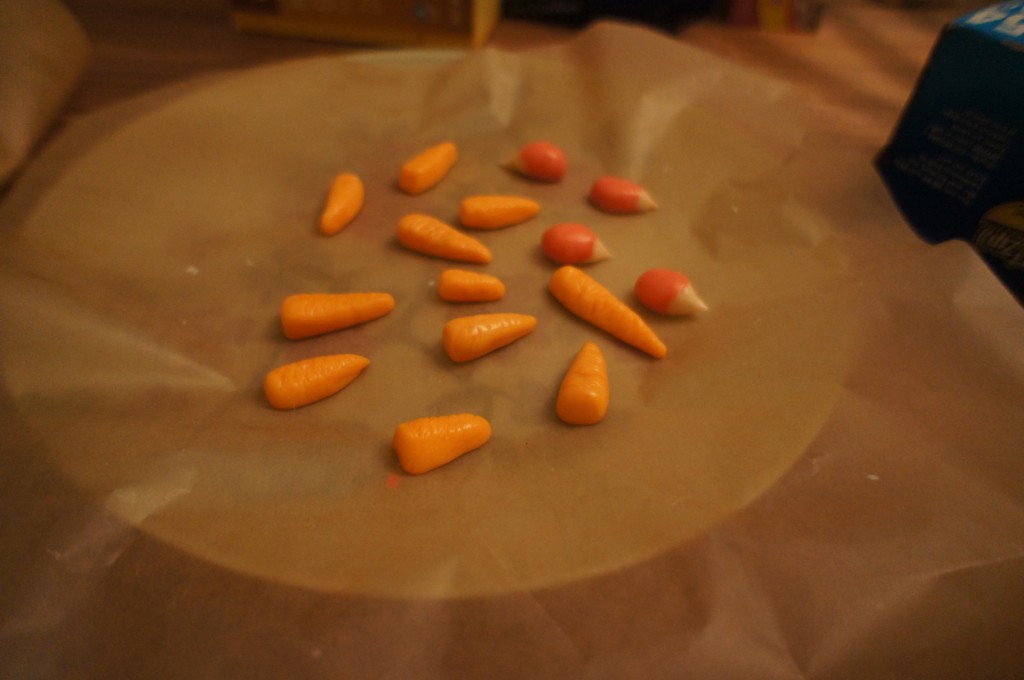
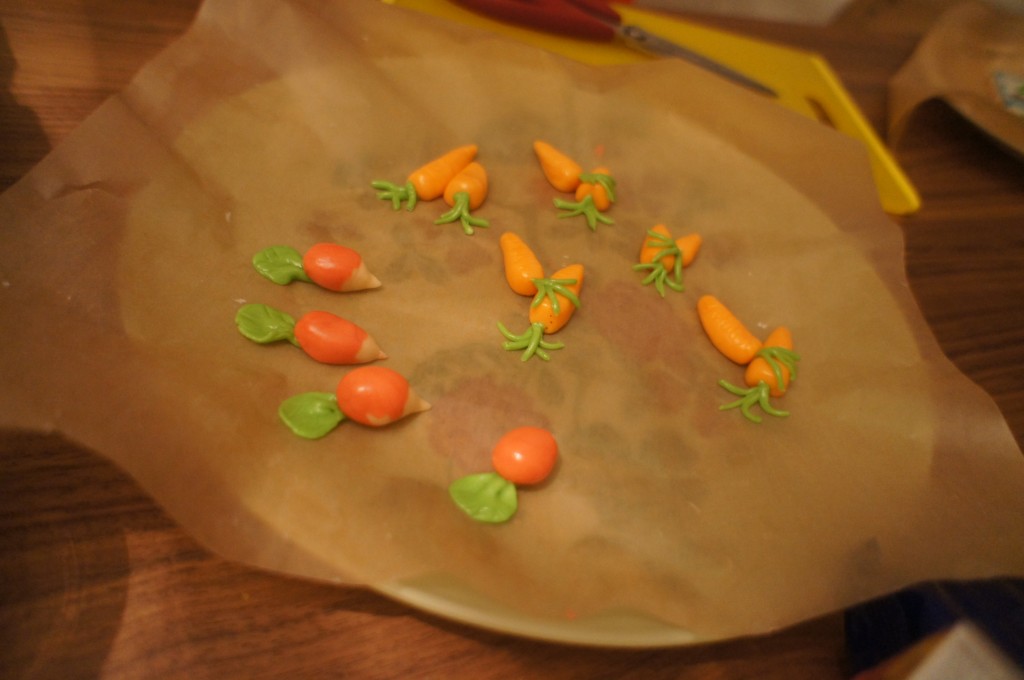
first off, we made the carrots!!
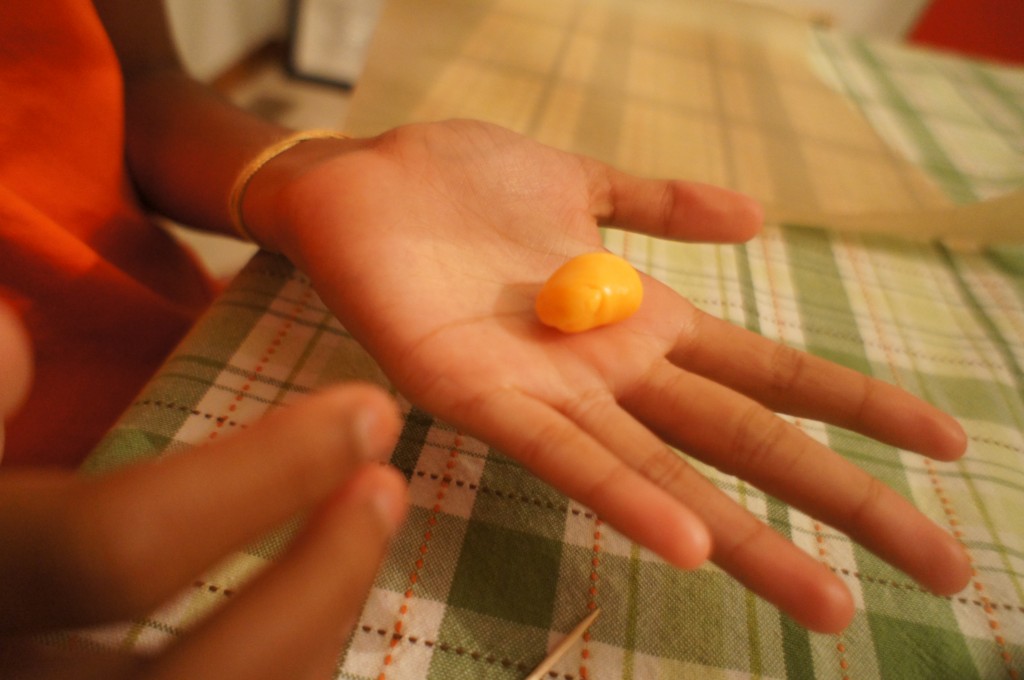
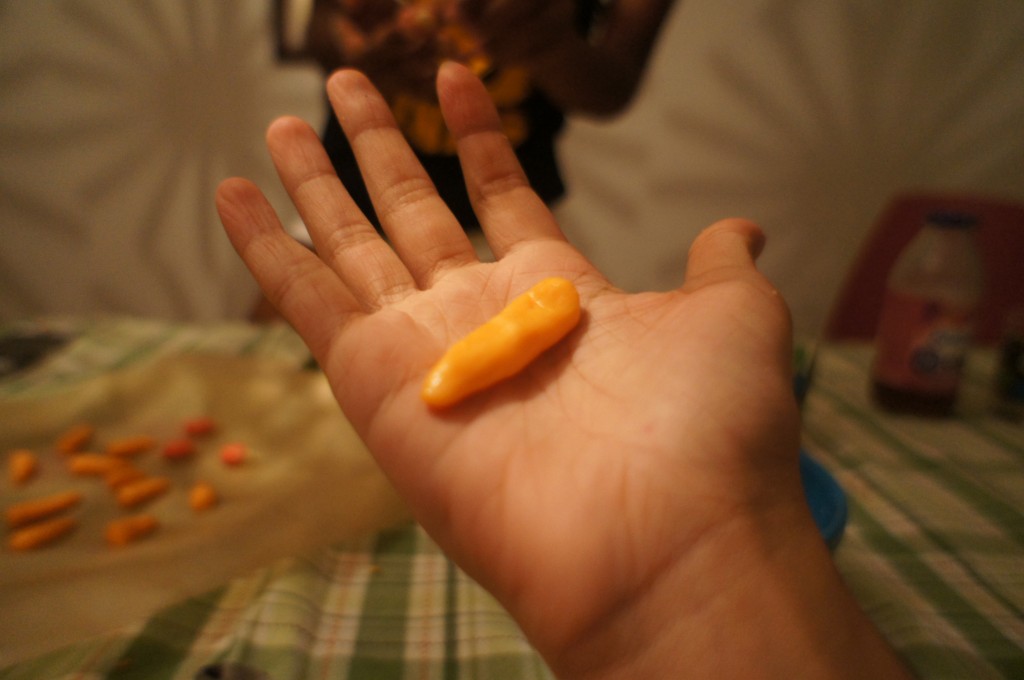
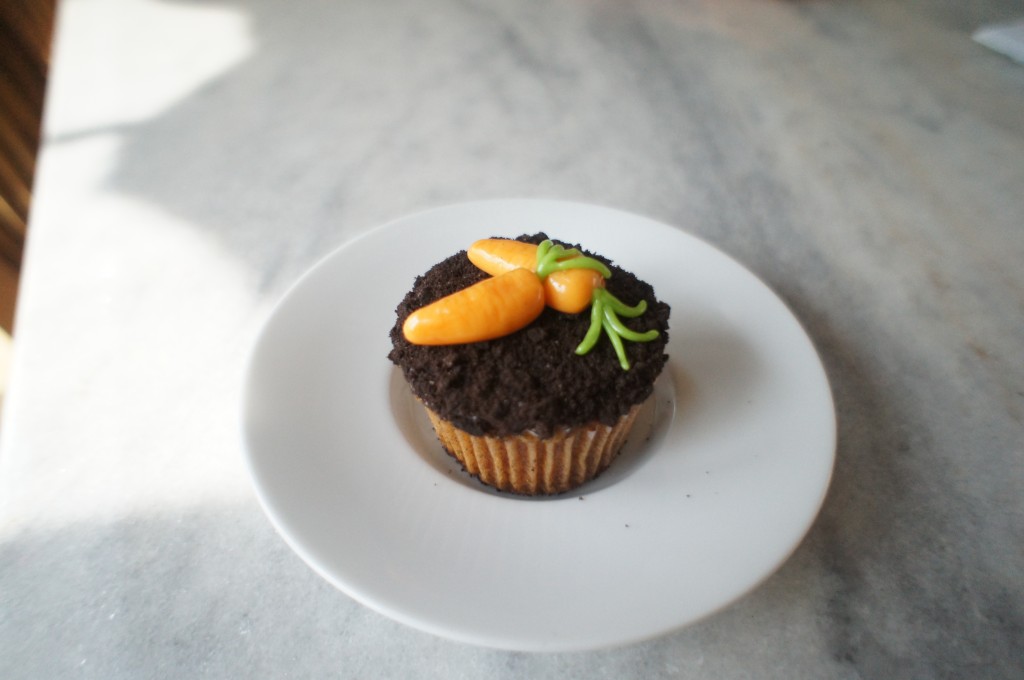
these were made by squeezing an orange fruit chew into a weird carrot shape, and indenting the top.
in the garden that is life, I would probably be this lumpy carrot.
or maybe this one.
but as abraham lincoln said, “nothing is perfect in the garden of life!”
JUST kidding, that is an original quote from njkid.
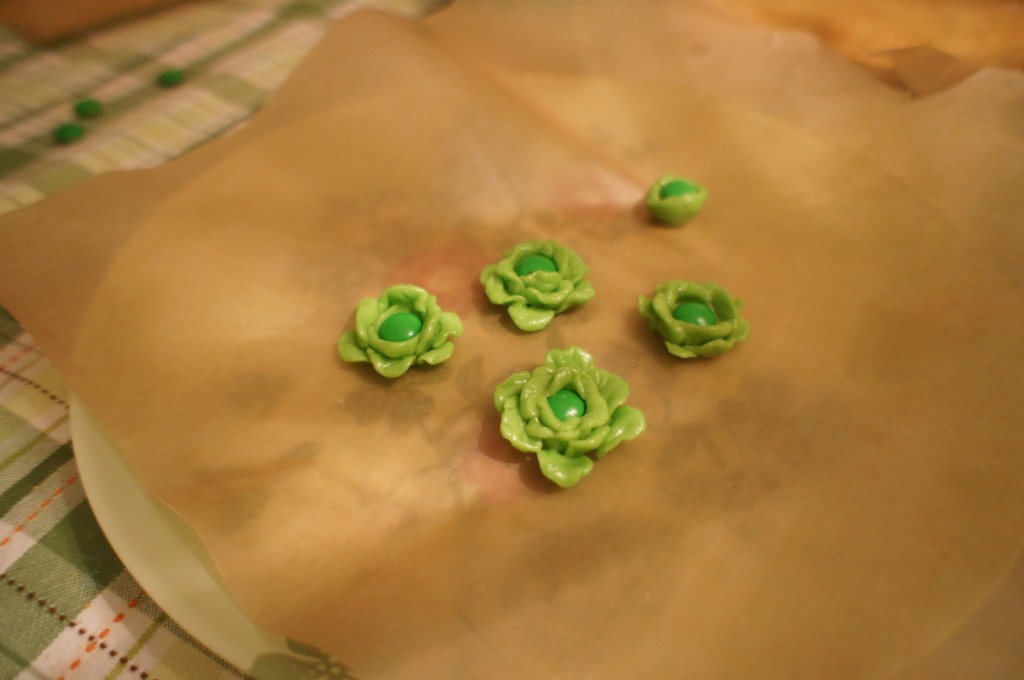
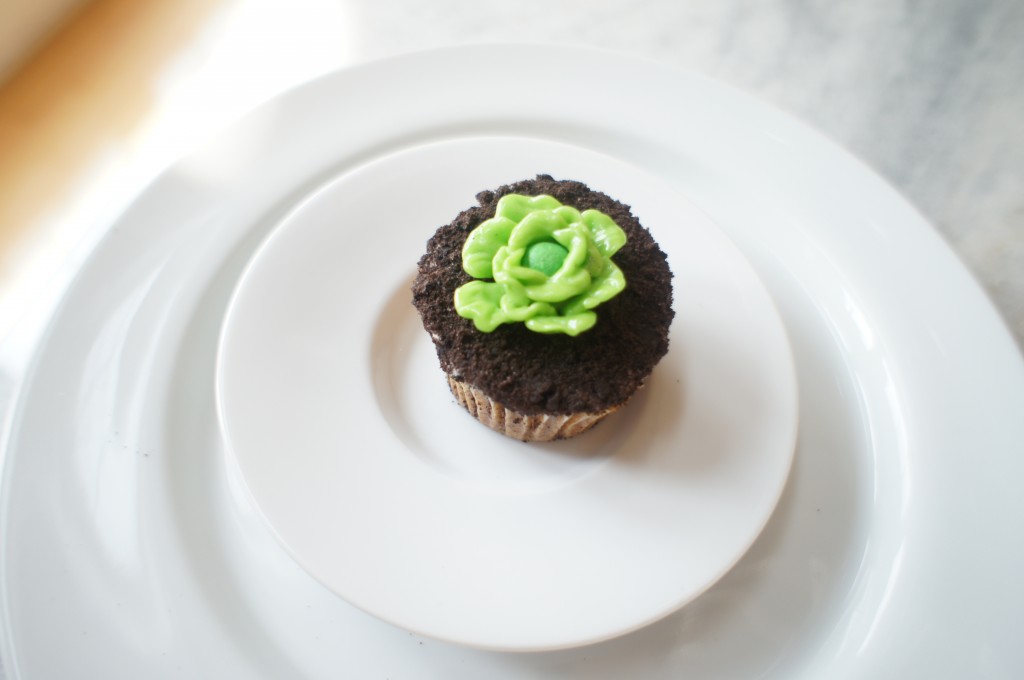
next up, it’s time to make the lettuce!!
these were super time consuming and annoying
as you can see, the closest one is the only one that I really put effort into
(don’t tell anyone)
but basically we molded small pieces of green fruit chews around an m&m!!
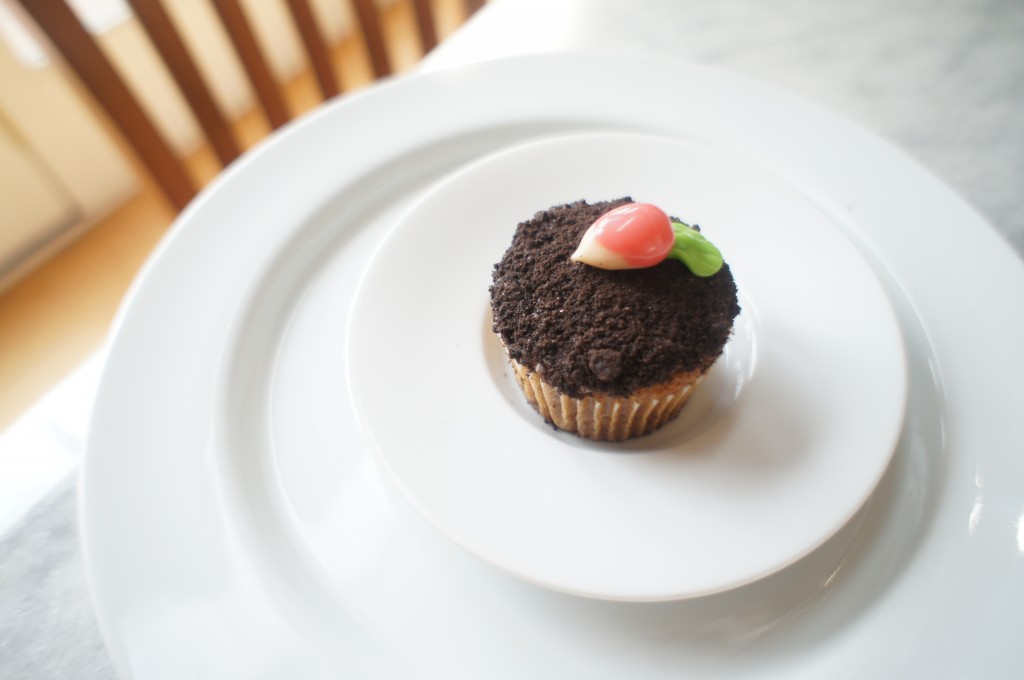
radishes were made from a pink fruit chew and a white fruit chew, molded into a radish-esque shape
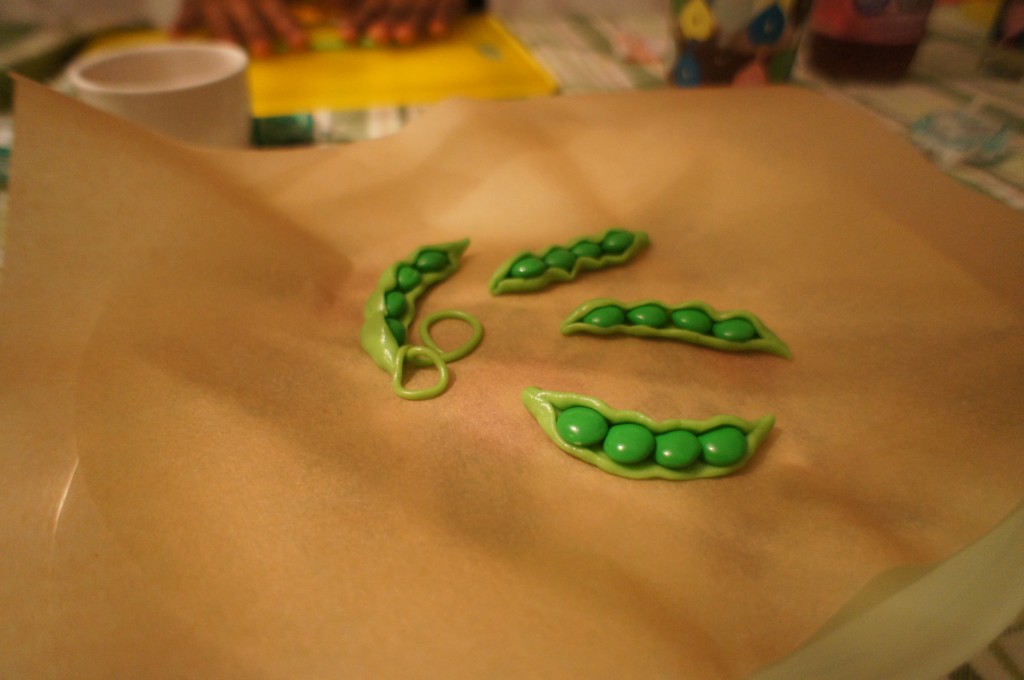
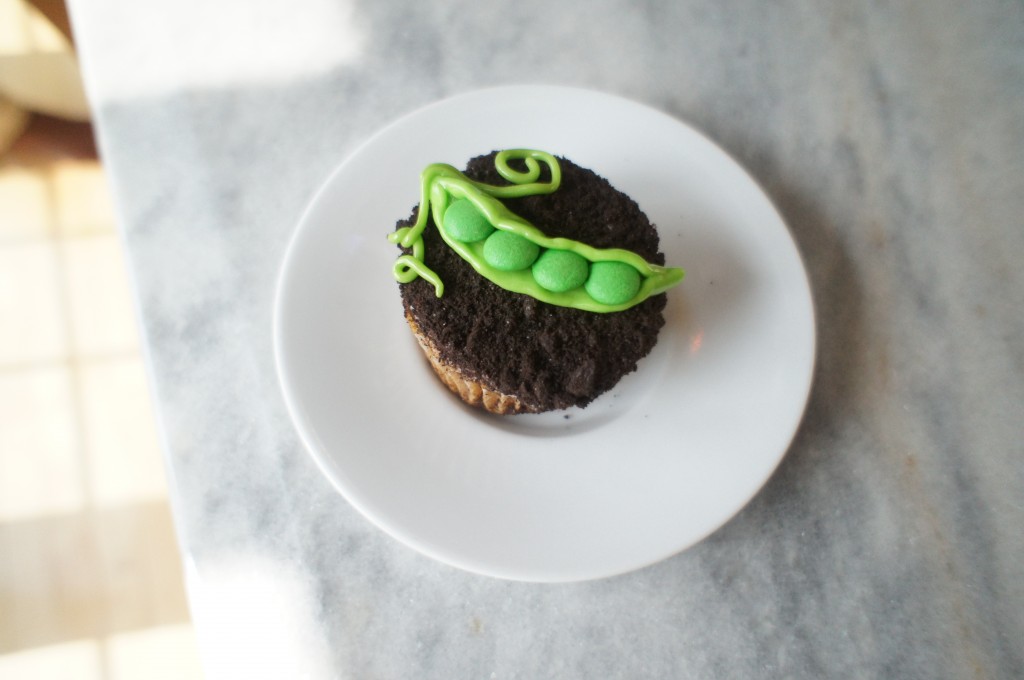
peas were made from a green fruit chew squished out into a long ovular-rectangular shape, and folded in half with 4-5 m&m’s inside!!
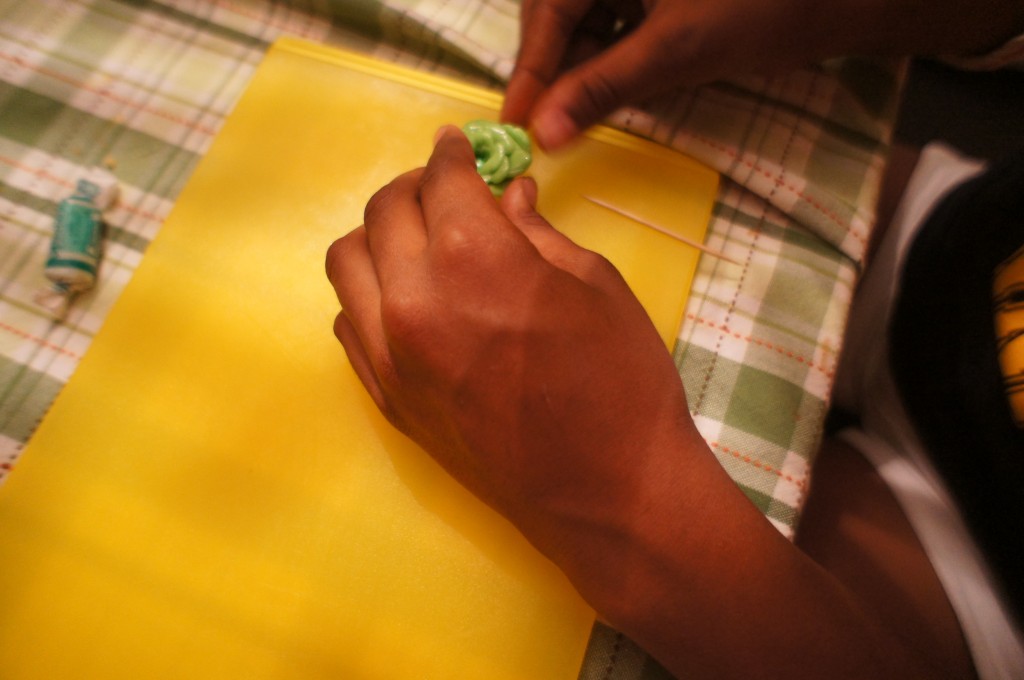
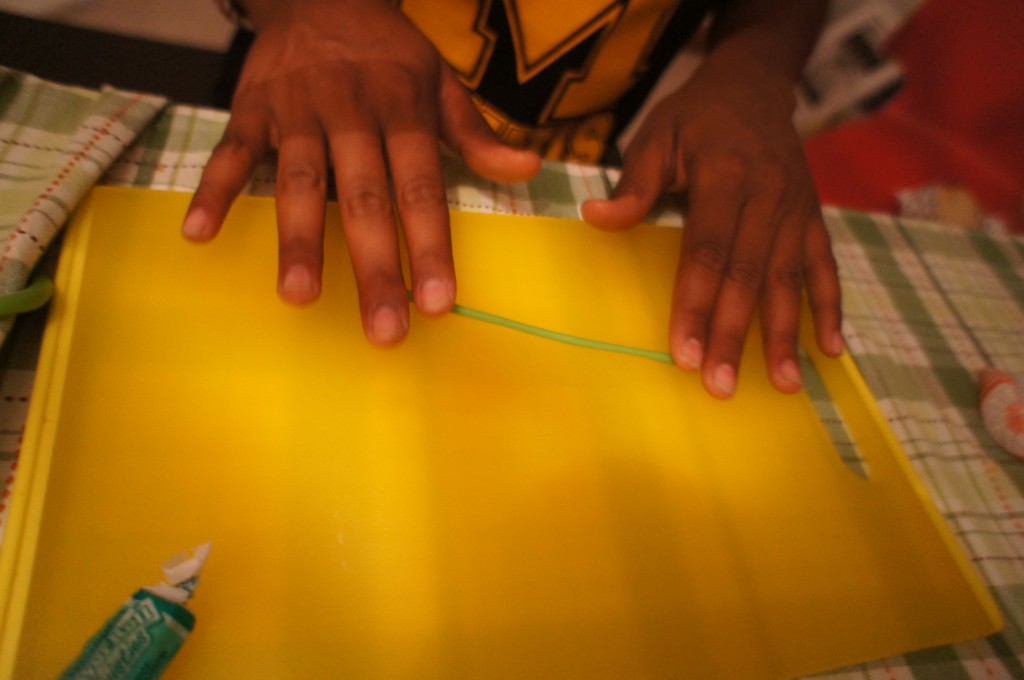
tendrils for the peas were made like so!!
(and extra green fruit chews were used for the making of the leaves on the carrots/radishes)
note: you may have noticed in the above pictures that we also made shovel cupcakes!! if you are interested in doing this, it’s totally easy! just take a stick of gum, and cut out the shape of a spade. Attach this to the end of a pretzel rod using some fruit chew, and add a broken piece of pretzel at the end of the rod for the handle… sprinkle sunflower seeds around the shovel to complete the effect!!
onto ROUND FOUR
MAKING THE CUPCAKES !!
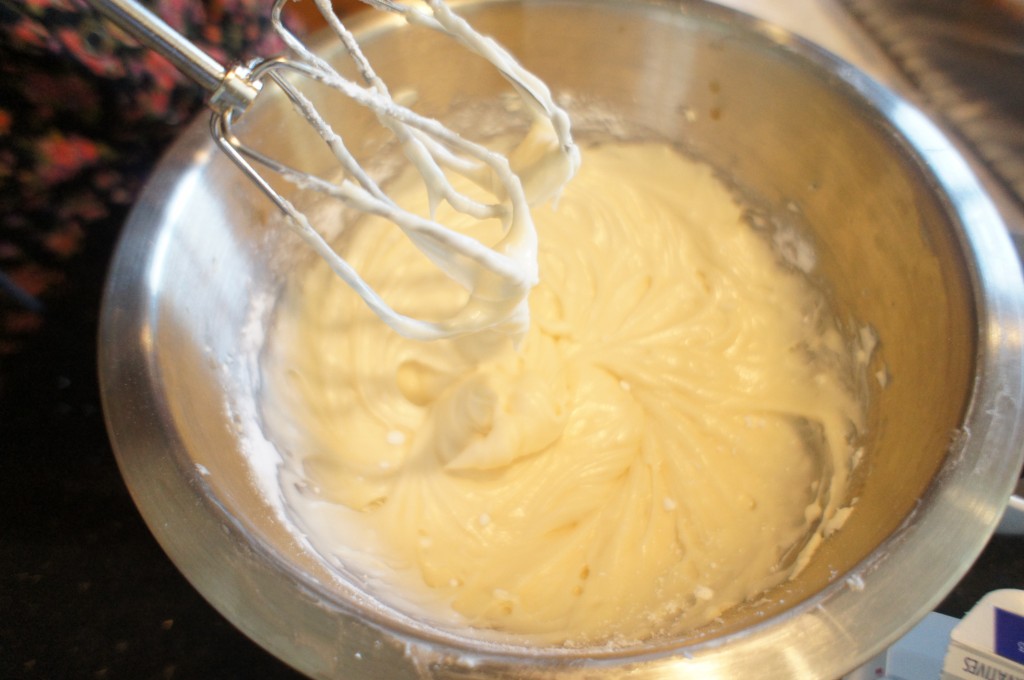
JUST kidding I forgot to take pictures of me making the cupcakes, so enjoy this picture of the cream cheese frosting
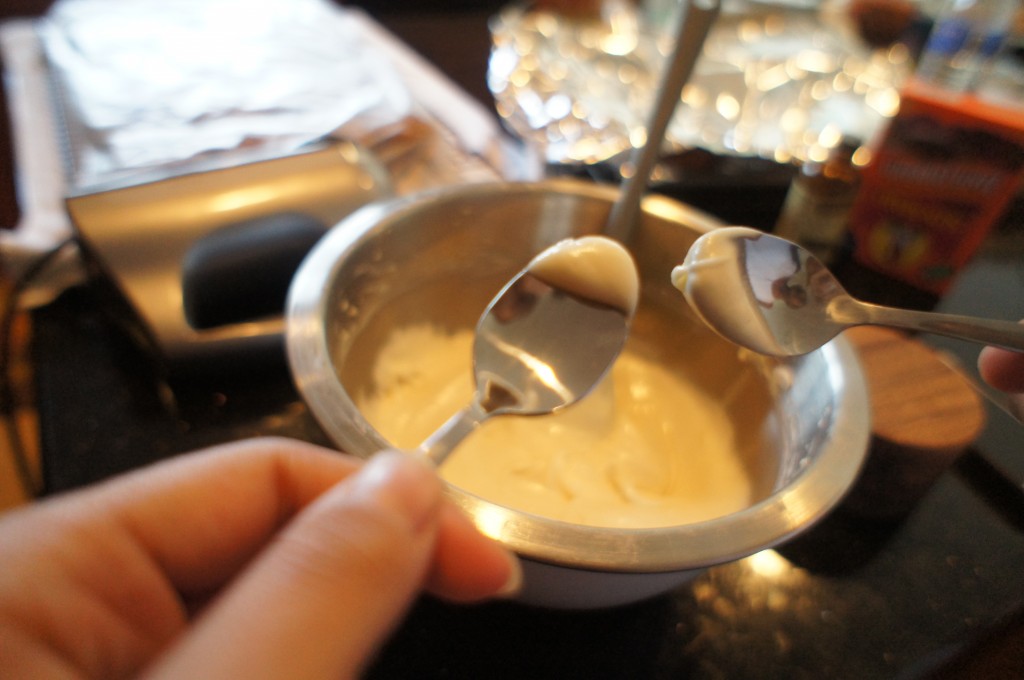
whoops I guess our spoons fell into the frosting ??? and we had to eat it ?? totally not a taste test
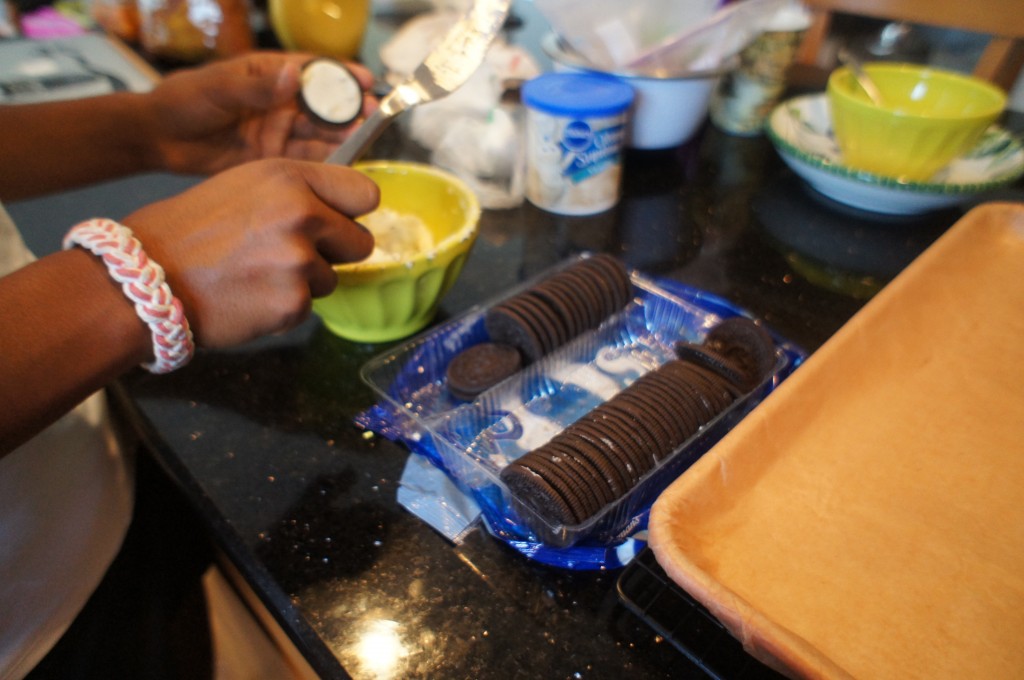
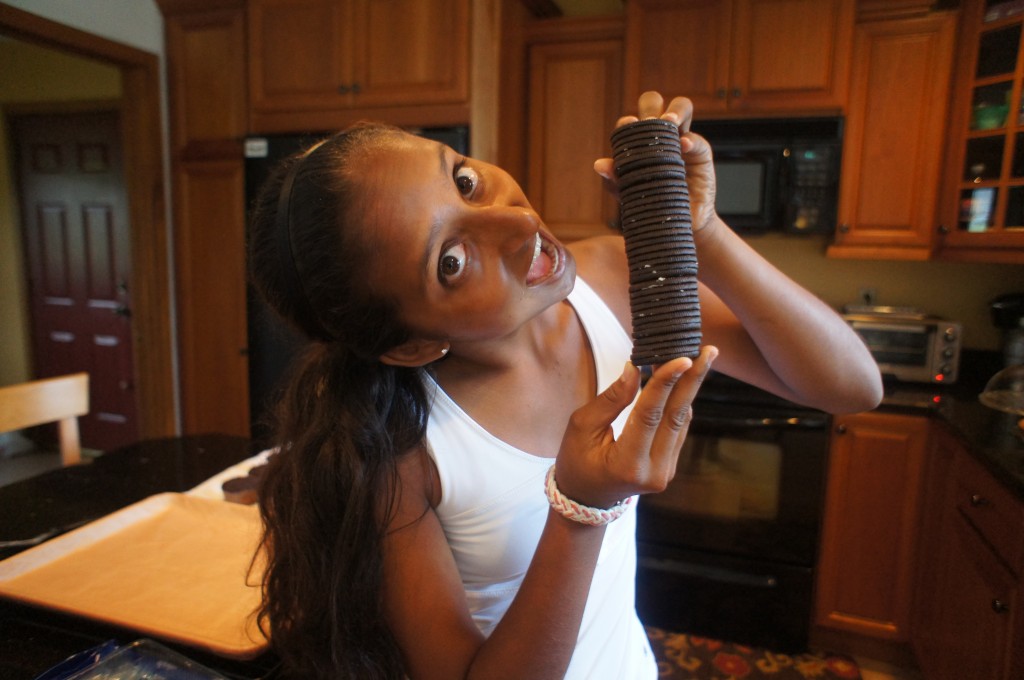
scrape the cream out of a few rows of oreos
BUT DONT EAT IT
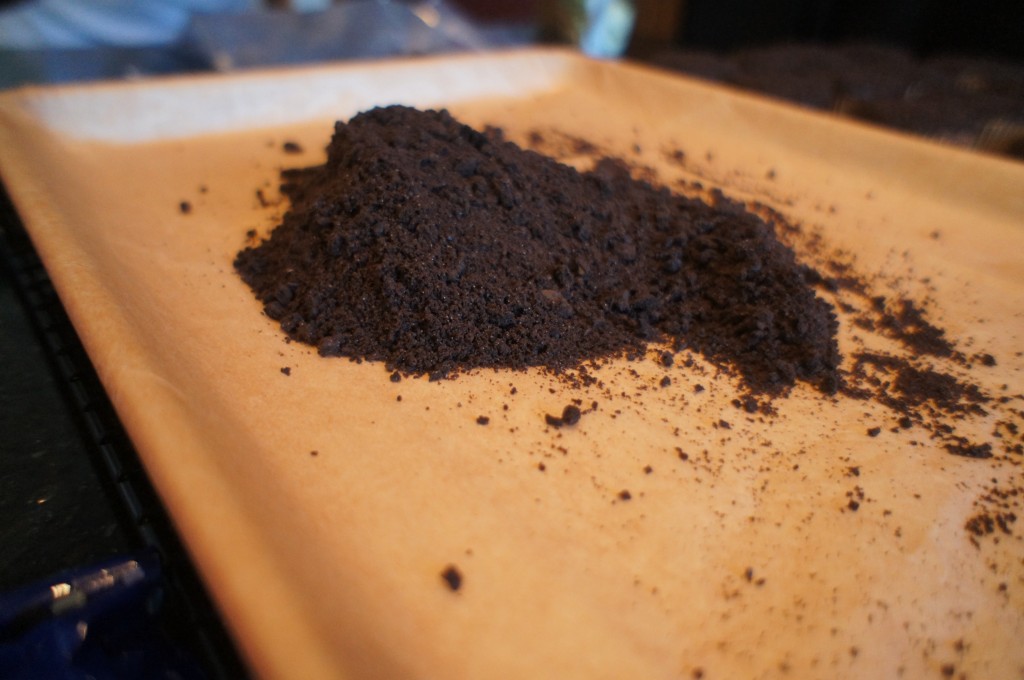
violently crush the oreos until they look like dirt!!
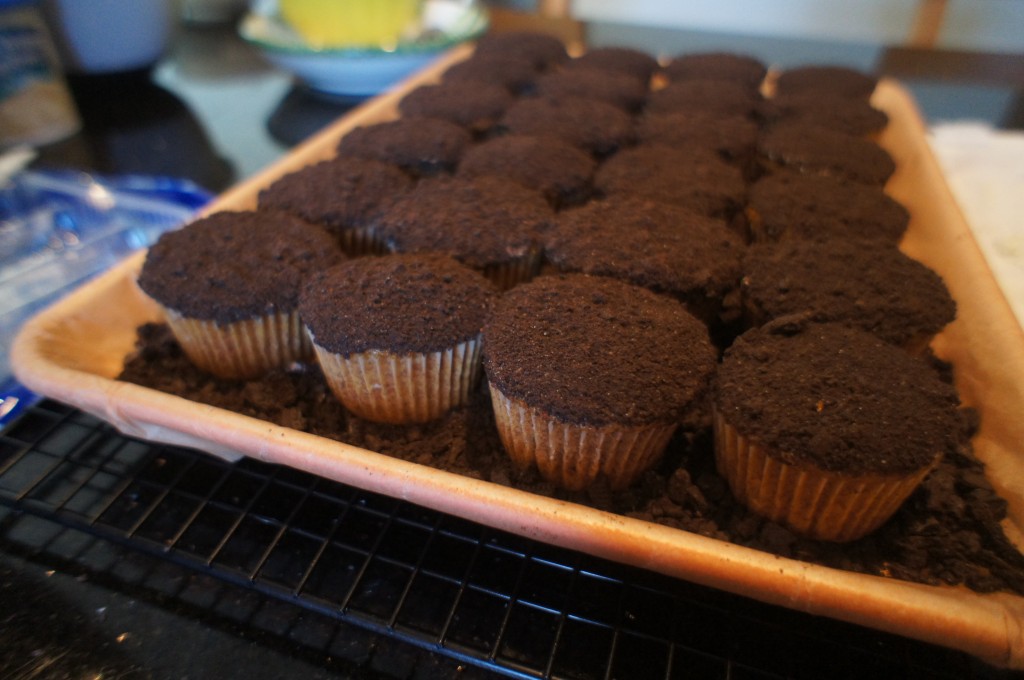
then pour half of it onto a baking sheet wrapped in parchment (we used tissue paper).
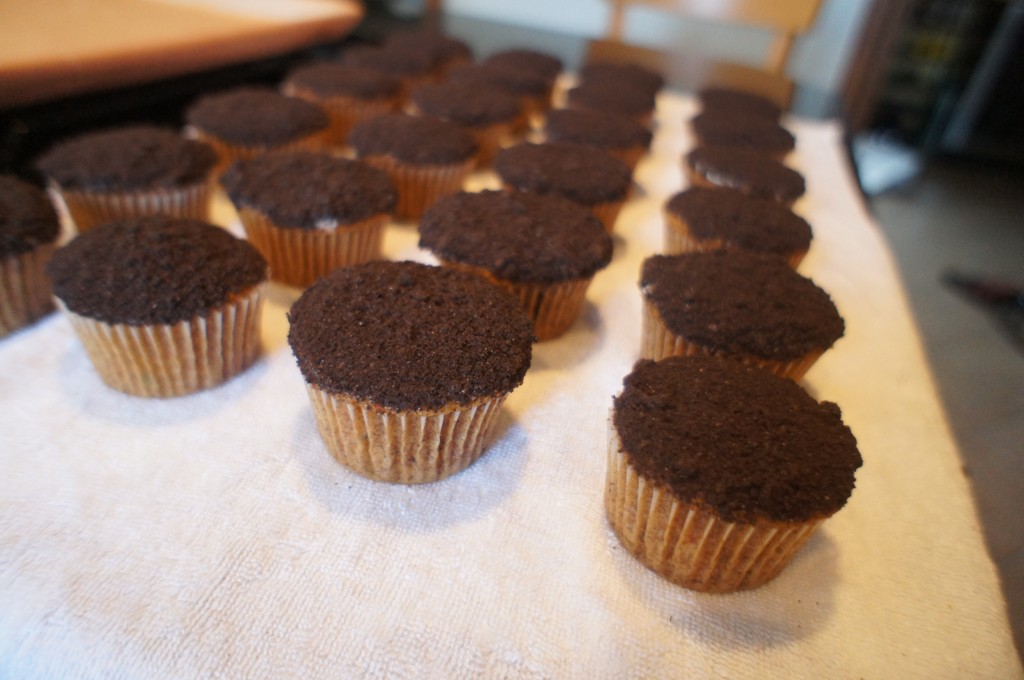
lightly frost the cupcakes, and dip into the other half of the cookie crumbs
(if you use too much frosting it’ll gloop off the edges!! not pretty)
arrange the cupcakes on the baking sheet!! make sure to push the cookie crumbs into the cracks so that you cover as much parchment as you can.
now
WILL OUR EAGER CONTESTANTS BE ABLE TO ASSEMBLE THE CUPCAKES SUCCESSFULLY
or WILL THEY BE SENT HOME
STAY TUNED TO FIND OUT
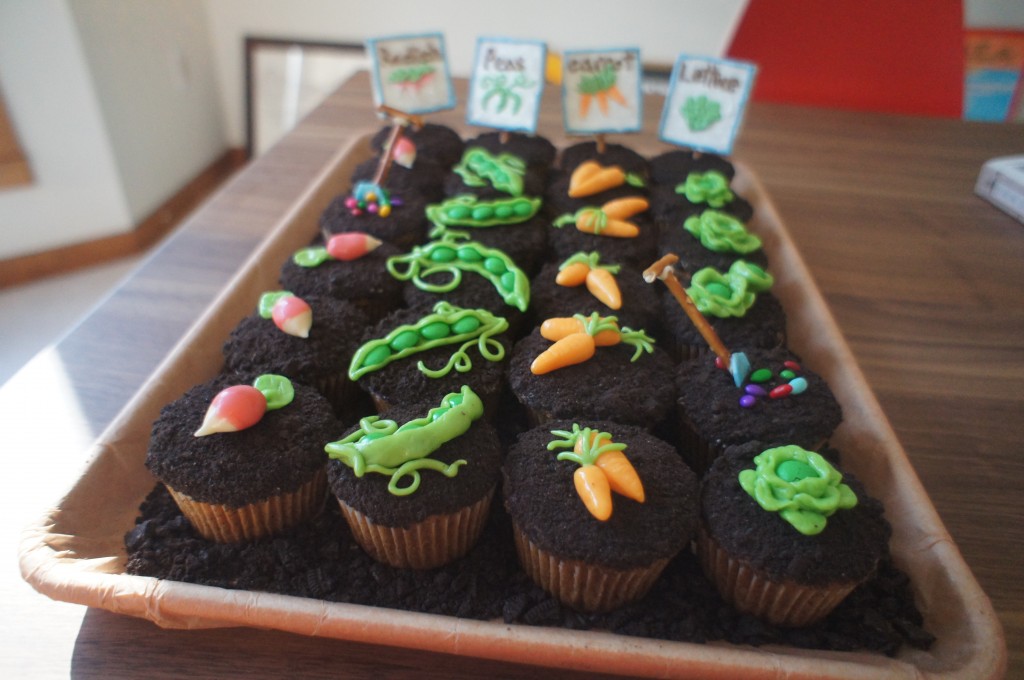
JUST KIDDING THEY TURNED OUT TOTALLY GREAT WOW
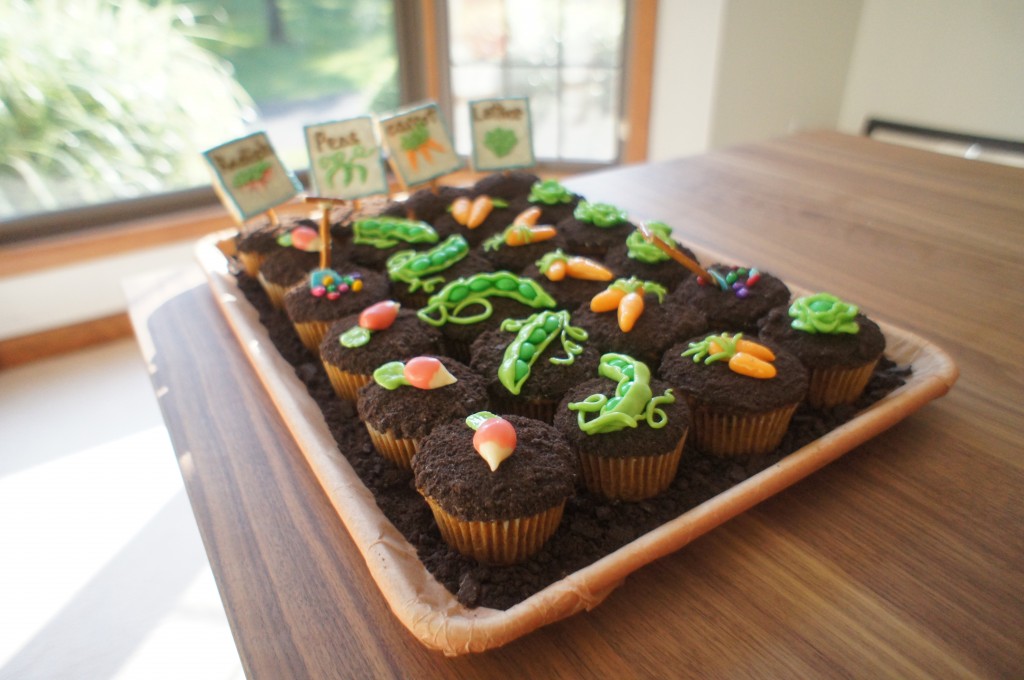
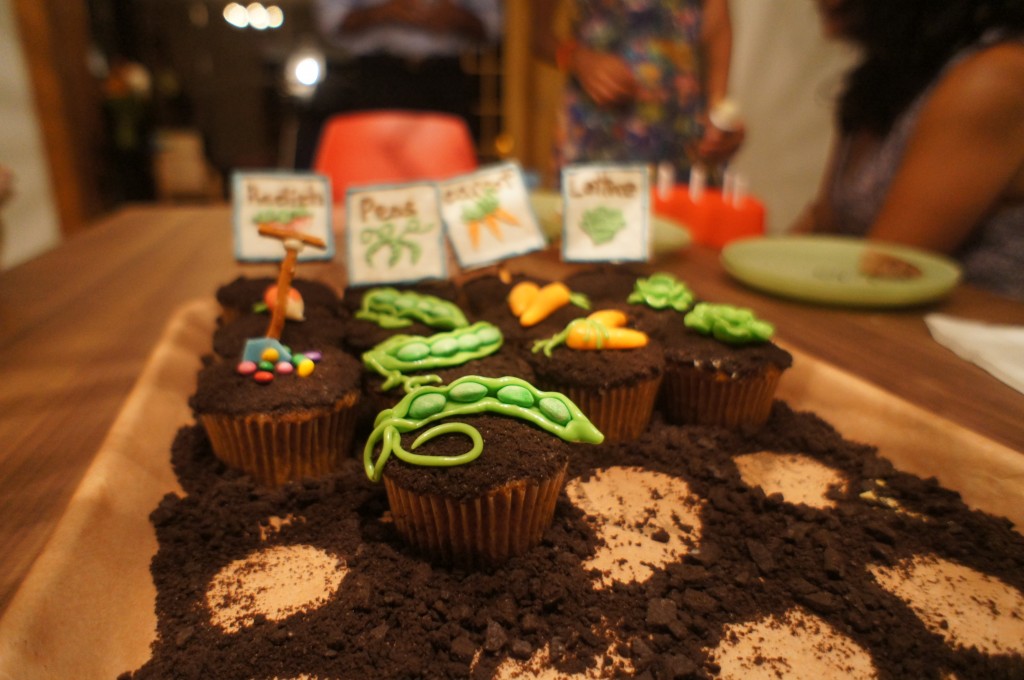
now to present them to the judging panel
AND ITS A HIT WITH THE JUDGING PANEL!!
(happy belated birthday mira mashi!)
(and yes she was totally surprised!!)
here are some close-ups of the finished products!!
In all I thought these were definitely a fun project if you have some extra time on your hands! They are a bit tedious, but the end result is pretty spectacular and sure to impress anyone you make them for. Have fun with these, guys!
(ps here are the cupcake and frosting recipes for your enjoyment)
(you’re welcome)
Carrot Cake
1 1/2 cups (10 1/2 ounces) vegetable oil
2 cups (14 ounces) sugar
4 large eggs
1 tablespoon cinnamon
1/2 teaspoon ginger
1/4 teaspoon cloves
1 teaspoon salt
2 teaspoons baking soda
2 cups (8 1/2 ounces) flour
3 cups (11 1/2 ounces) finely grated carrots
1 1/2 cups (5 3/4 ounces) chopped pecans or walnuts (optional)
Instructions:
- Preheat the oven to 350°F. Lightly grease two 9″ round layer pans, or one 9″ x 13″ pan.
- Beat together the oil, sugar, salt, eggs, and spices. Mix the flour with the baking soda, and stir in. Add the carrots and nuts, and mix until just blended. Pour into the prepared pan(s).
- Bake the cake(s) for 35 to 40 minutes, or until a cake tester inserted into the center comes out clean, or with a few moist crumbs clinging to it. Allow the cake(s) to cool completely before frosting. (If you’re using round layer pans, remove the layers from the pans after about 15 minutes, and place them on a rack to cool.
Frosting:
1/2 cup (8 tablespoons) unsalted butter
one 8-ounce package cream cheese
1/4 teaspoon salt
2 teaspoons vanilla
2 1/2 to 3 1/2 cups (10 to 14 ounces) glazing sugar or confectioners’ sugar
milk or cream to adjust consistency of frosting, if necessary
Instructions:
- Beat the butter and cream cheese together until smooth. Add the salt and vanilla. Beat in the sugar. Add a teaspoon of milk or cream if the frosting is too stiff to spread; add additional sugar if it’s too thin.
- Frost the cupcakes!

